I worked on this post for several HOURS over the course of several DAYS. It was part two of the post below & it showed how the bag was finished. I had some trouble loading the (twenty or thirty-some-odd) pics into the post & even got one of my friends with high speed internet to upload them for me & then I just put the codes in to make them appear. I got them all arranged & all the instructions typed out during one of the Mavs Finals games. It was all very cute, informative, & funny. When I clicked on publish, it took me to a sign in screen. Then it took me to the "create a new post" screen. The post I had just finished was GONE!
I was quite upset, after putting so much time & effort into it, so I gave up on it for a while. I'll put the photos back up here sometime, but I just don't have the patience right now.
If you have a long & photo heavy post drafted up, click over to the HTML side & copy & paste that whole code into notepad or wordpad & save it....lesson learned the hard way!
Tuesday, July 11, 2006
More Capri Sun Fun
Monday, May 29, 2006
Capri Sun Fun
I've seen a couple of these bags around town & I've been saving pouches for quite some time. I finally decided to make a bag yesterday. I found a few websites with directions online, but nothing was this in-depth. The possibilities with these are endless, so get creative!
Step 1: Drink LOTS of Capri Sun & Kool-aid from pouches, or just get the kids in your neighborhood to save them for you.
Step 2: Wash them out in a sink of soapy water, then rinse. Be sure to rinse out the insides, using the straw, as well. Use the straw to fill with water & drain out until the water coming out is no longer soapy. Use the straw to blow air into empty pouches & set out to dry.
Step 3: After pouches have set out a few nights to dry, use a product such as Un-Do to get the straw wrapper glue off the back of them. All I could find at the store was Goo Gone & it worked just fine, by putting a dab on an old rag & rubbing the glue off.
Step 4: Figure out what size purse you want & make sure you have enough pouches.
I found this photo on the internet & decided to make one like it: 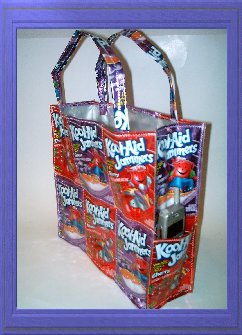
It will take 18 pouches.
Step 5: CHANGE YOUR SEWING MACHINE NEEDLE! You will want to have all the "piercing power" you can possibly get. If you start having trouble piercing through the pouches later, remember to change your needle again.
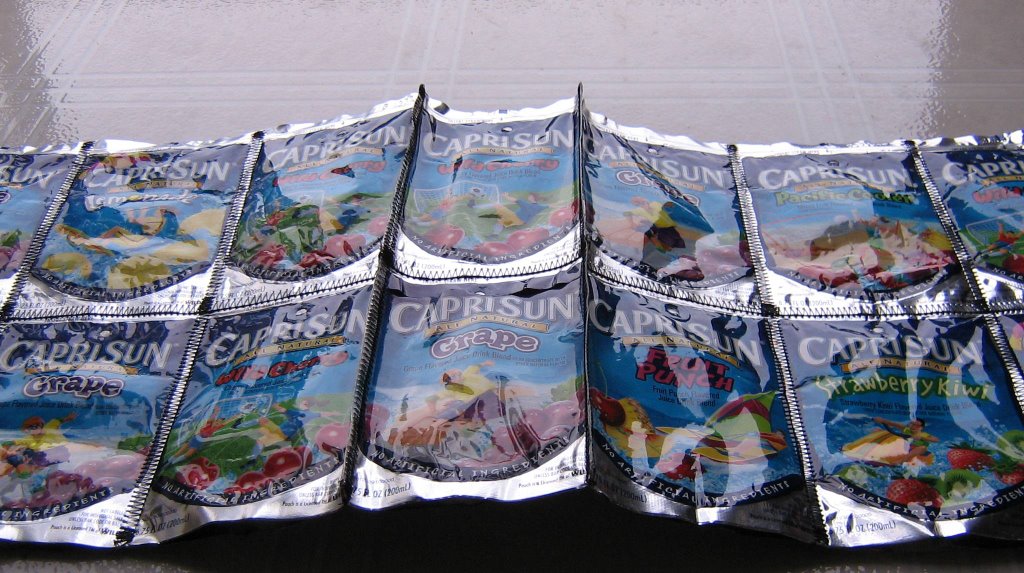
Step 6: Take two pouches & sew them together, with a zig-zag stitch. 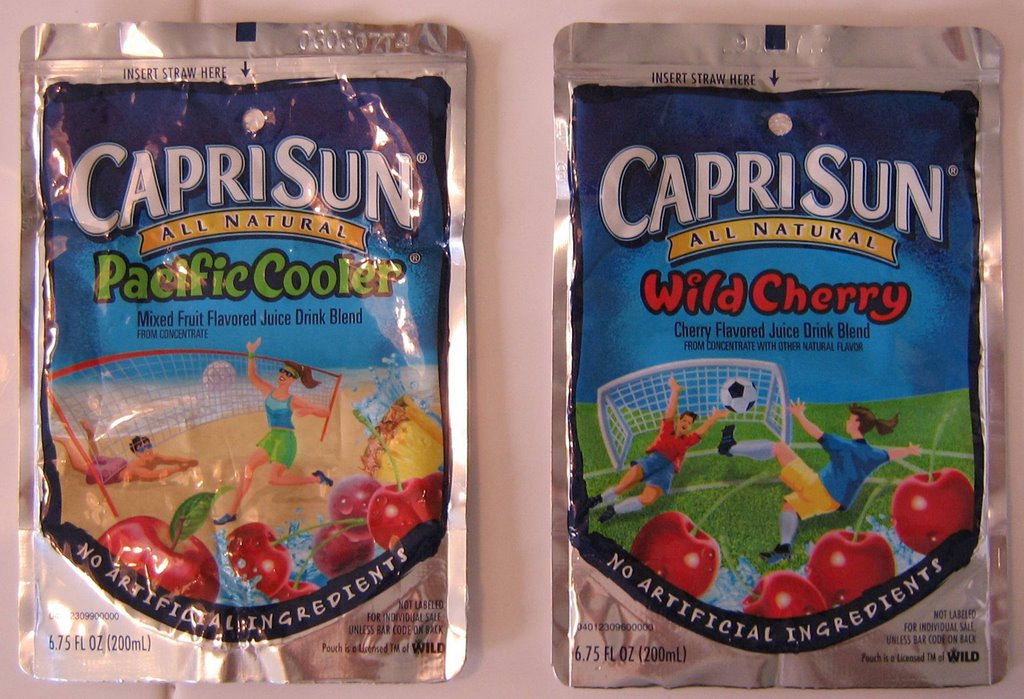
Click on any photo to see more detail. 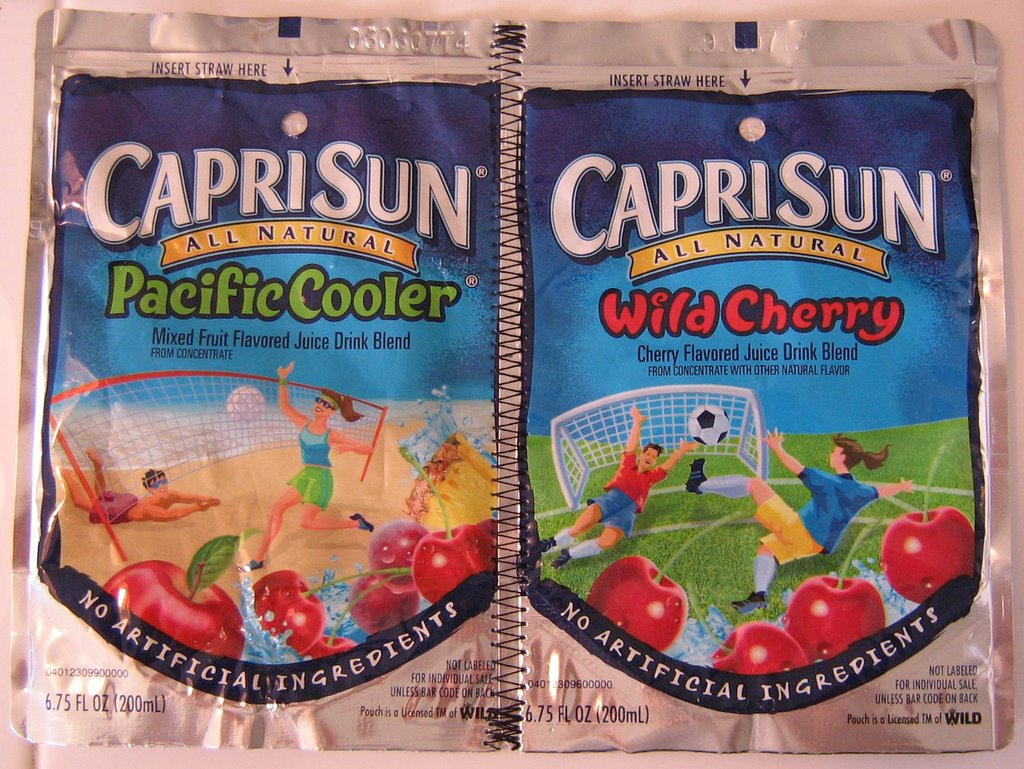
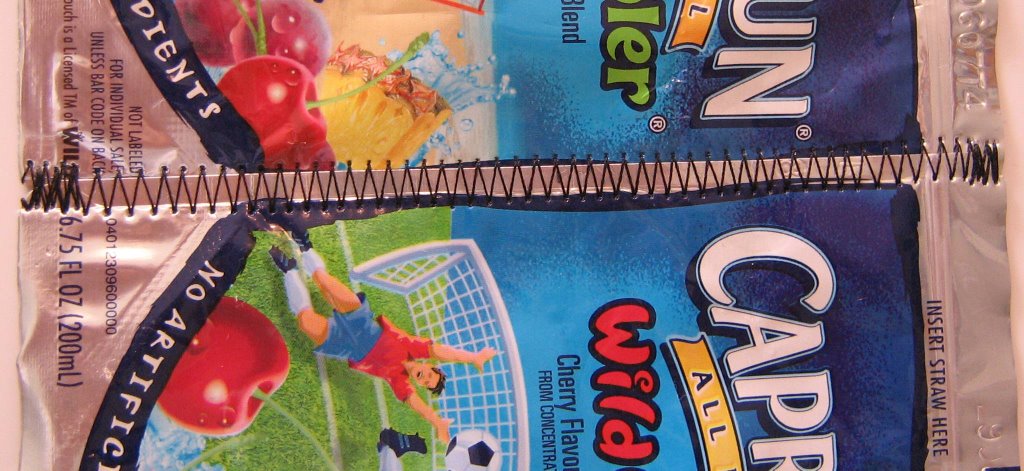
This shows the detail of how much they overlap. Some of the directions I read said 1/4th of an inch. I just overlapped the thin silver strips on the sides of these pouches & my zig-zag stitch covered both edges.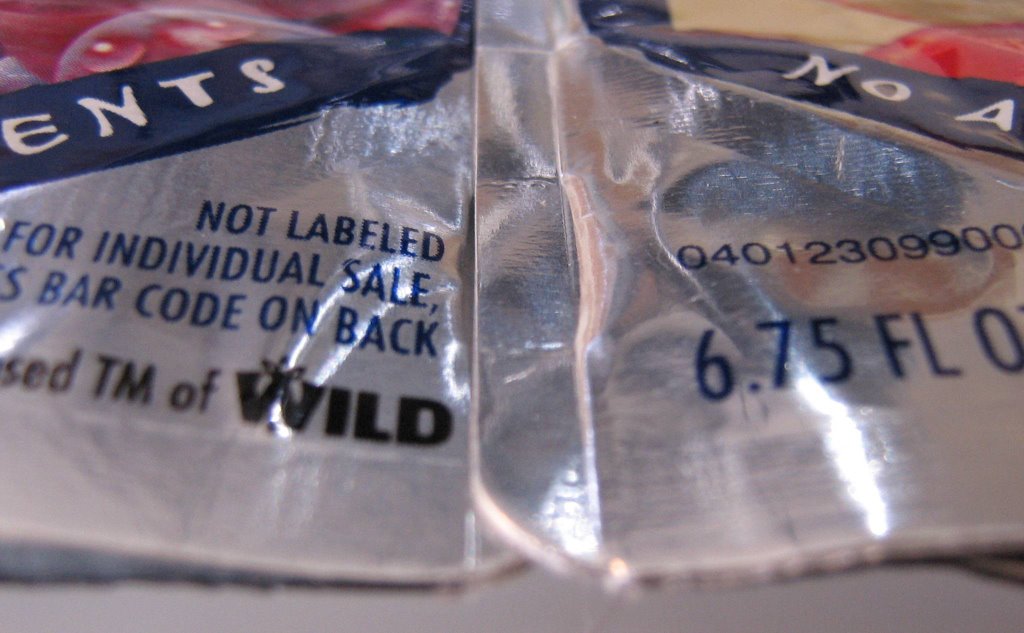
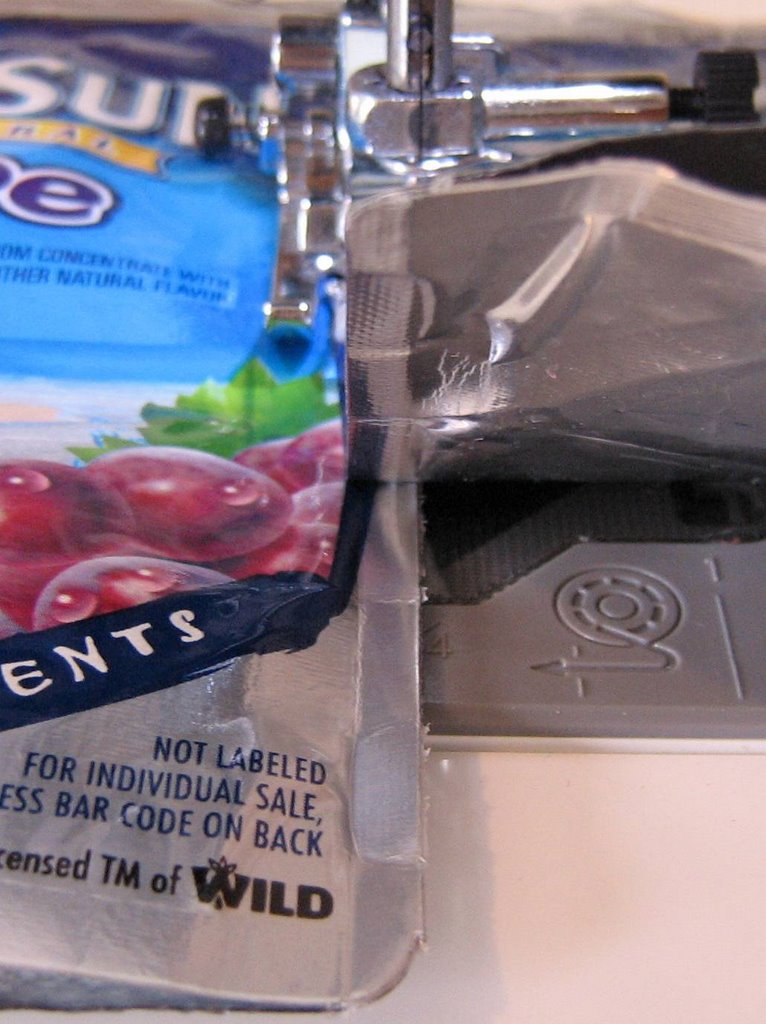
Step 7: Add another pouch to your row.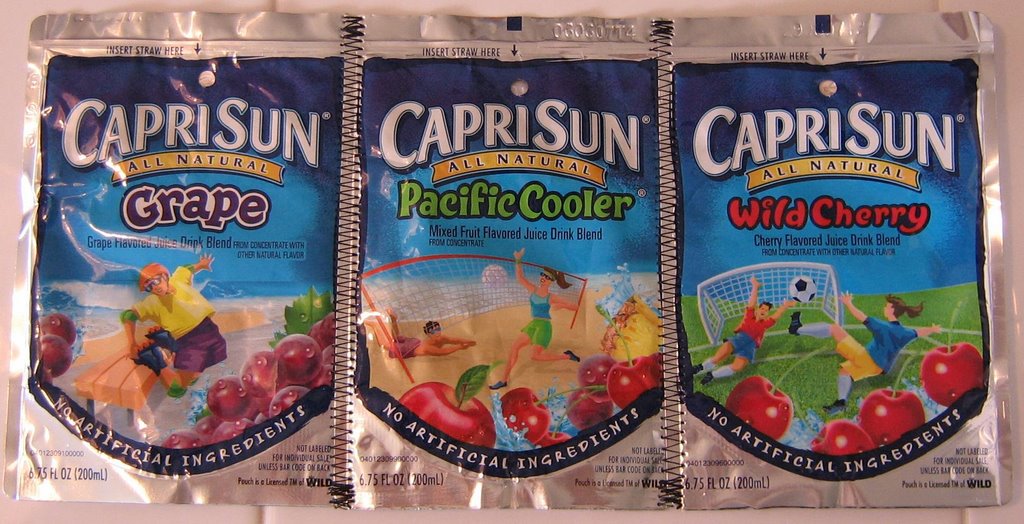
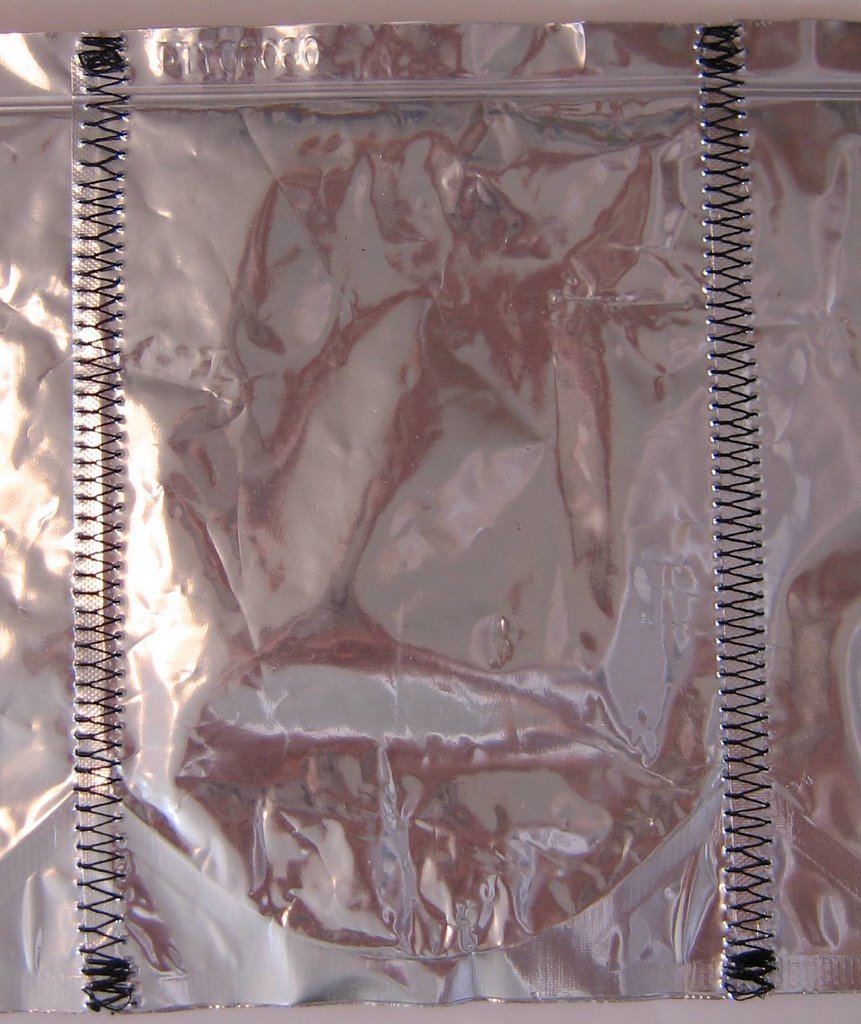
Back view: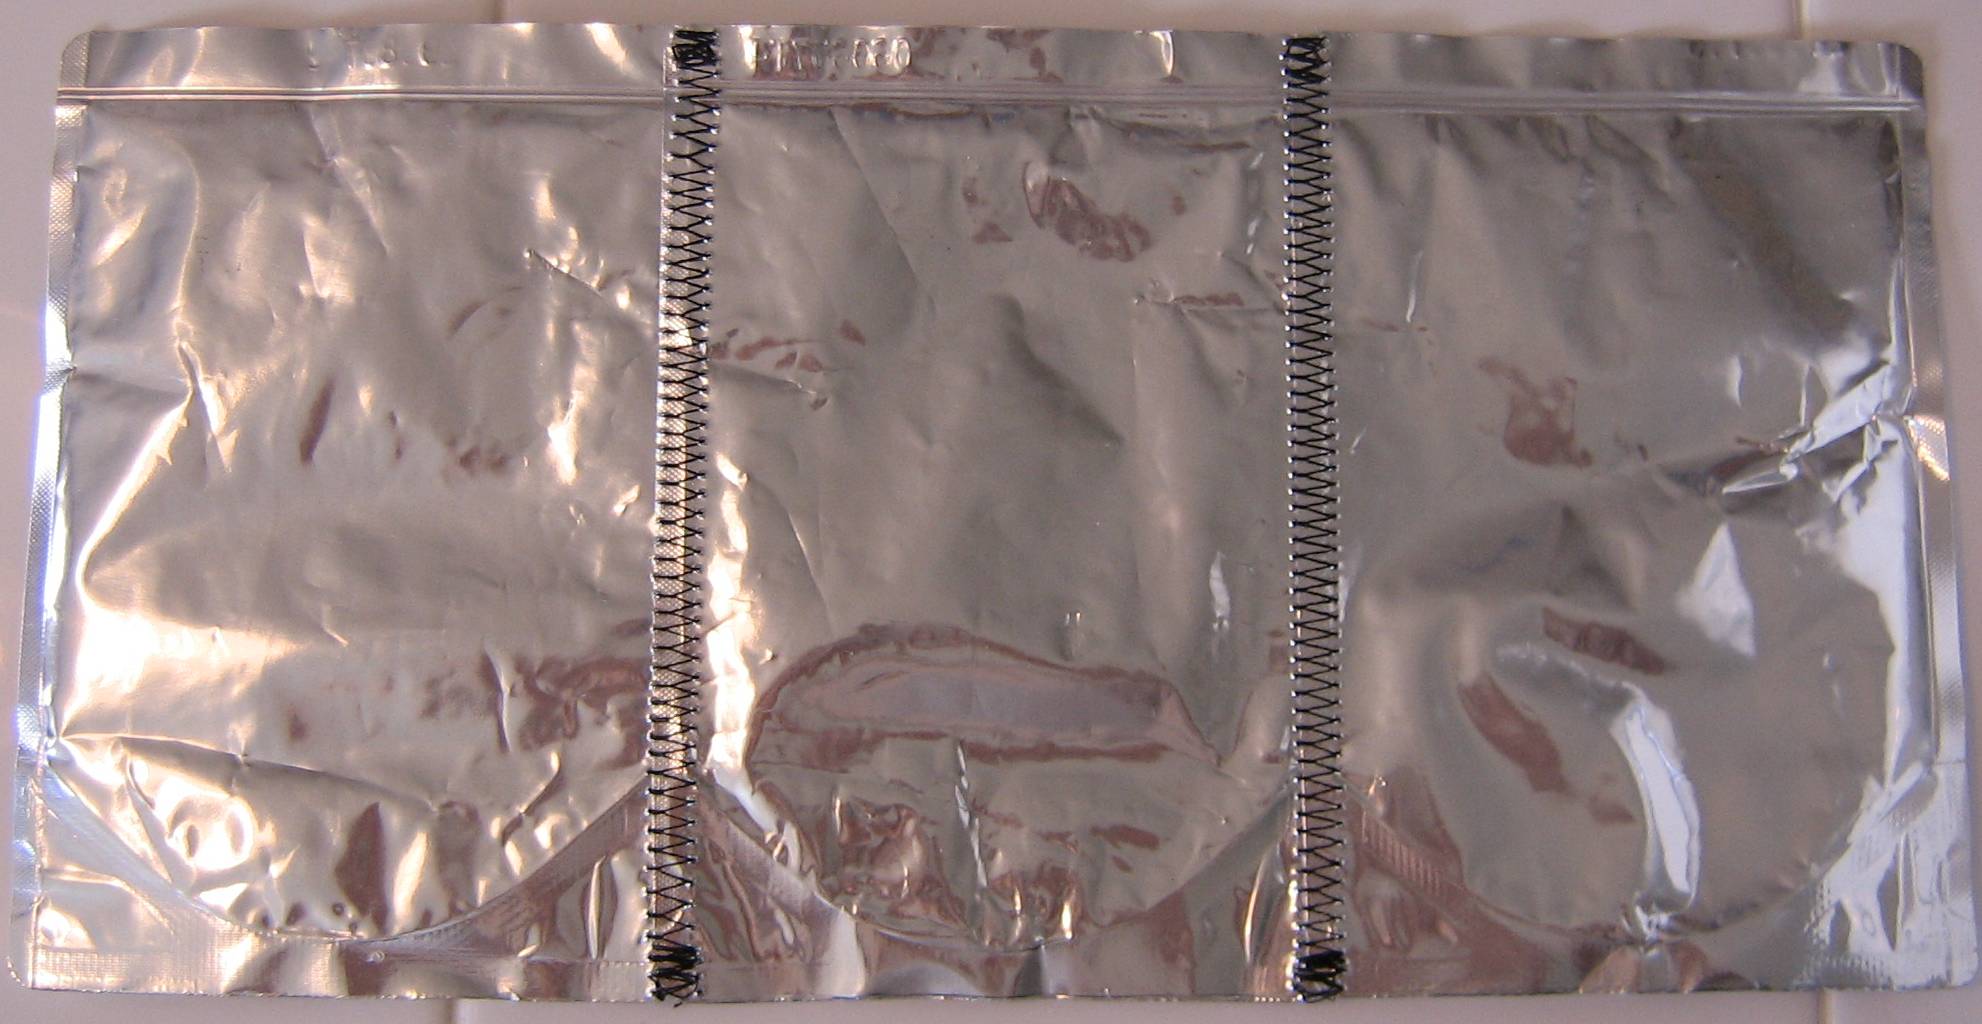
Step 8: Make another row, just like the one above. 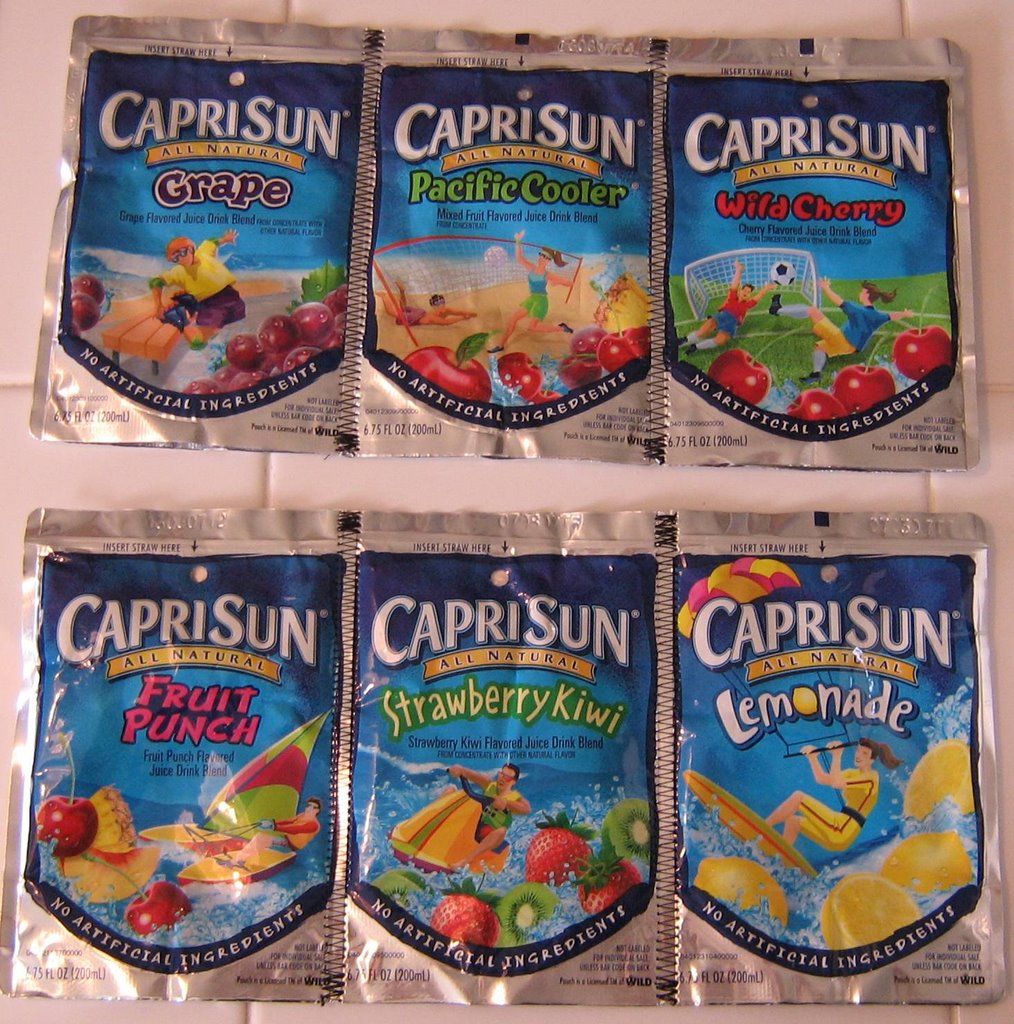
Step 9: Join the two rows together, to make one side of the bag. This is considered to be a 2X3 panel. Be sure to slow down, when sewing over the existing seams, since the layers get quite thick.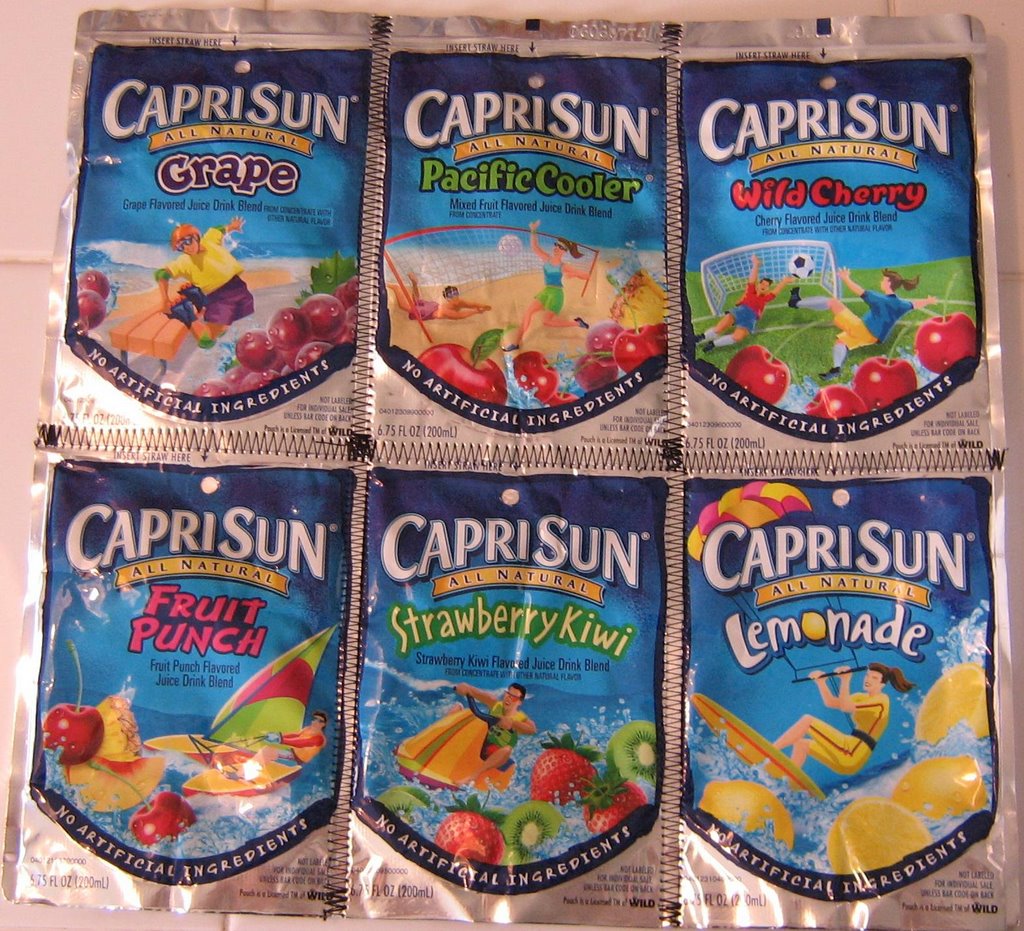
Stitch detail: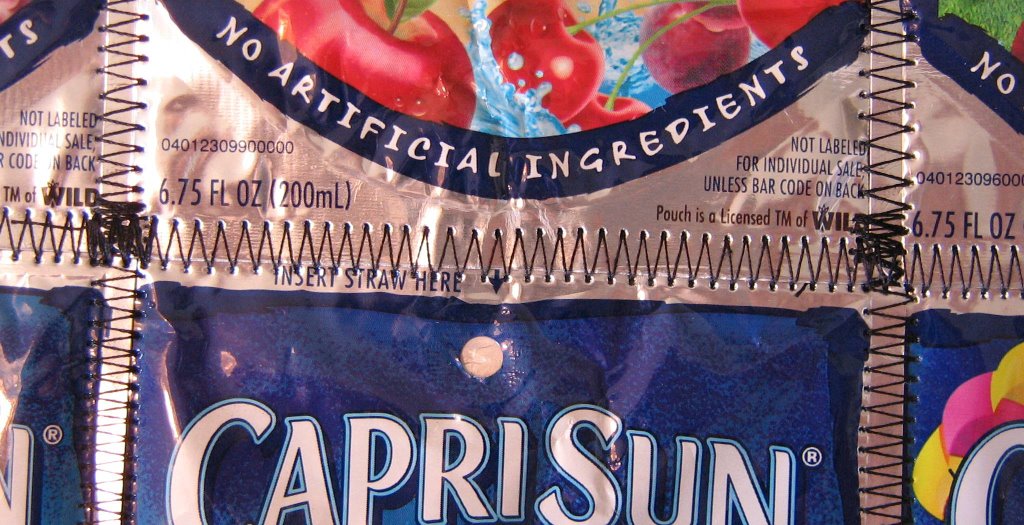
Back view: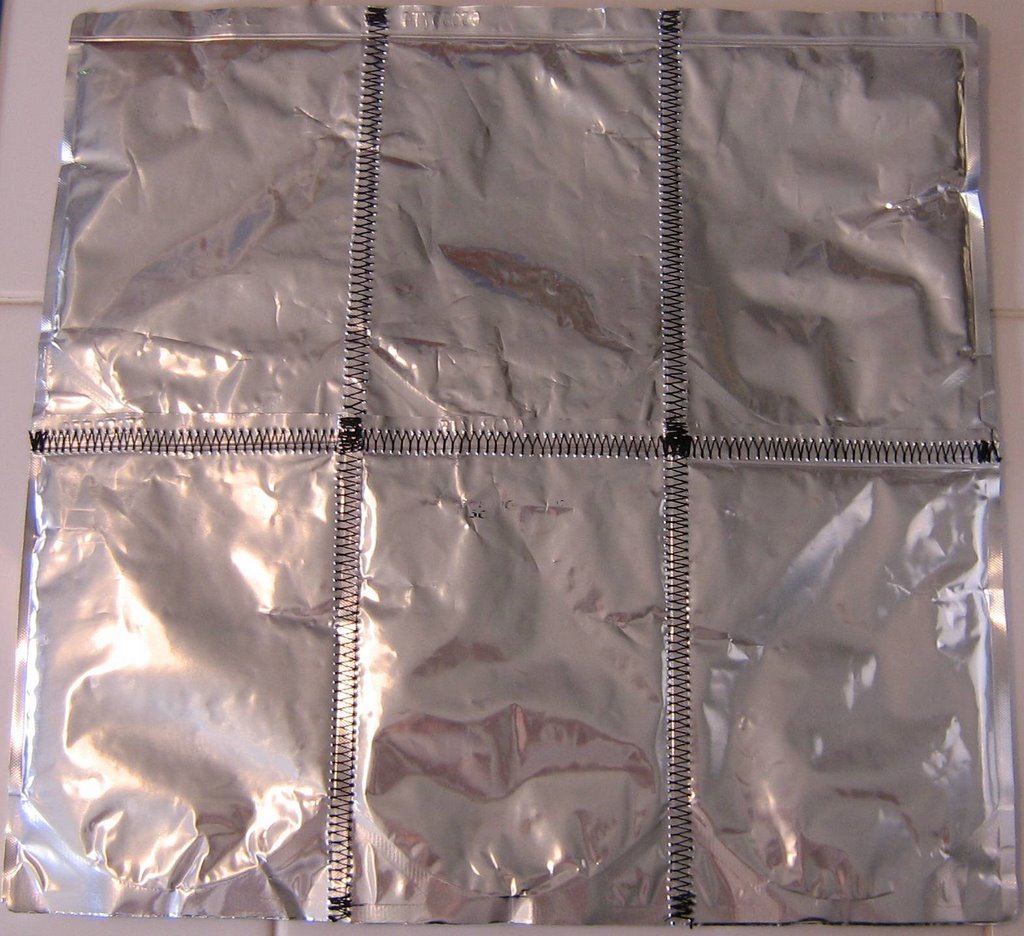
Step 10: Assemble another 2X3 panel, for the opposite side of your bag, using steps 6-9 above.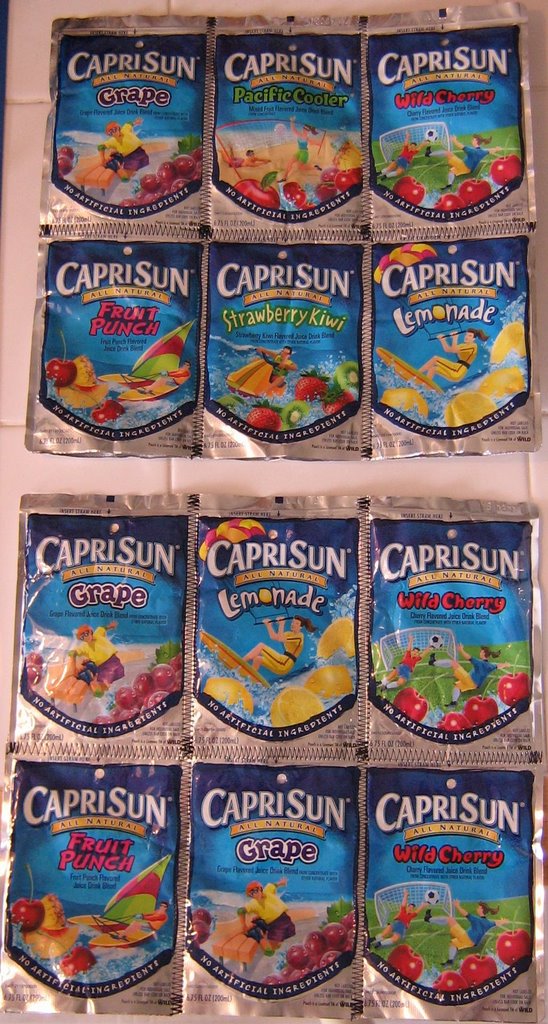
***Now would be a great time to add your purse handles, or straps. I didn't have the supplies for mine until after the body of my purse was complete, but it was quite difficult getting the whole purse to fold up, & get it through the machine. It would be much better to add them now, while these panels are flat & easier to move around. Look for instructions in the post below.***
Step 11: Sew two pouches together, one above the other, for the "ends" of your bag. I don't have a picture of how to lay these out, but in step 6, the pouches were side by side & here, they need to be one pouch with one below it. You will see this in the next few photos, but this section will already be joined with the bag sides.
Step 12: On these particular drink pouches, the "wrong" side is all silver. Attach your 2X3 panel to the pouches you joined for the end, with the wrong (silver) sides together. I still used a zig-zag stitch here. It will be much easier to attach the bottom of the bag if you don't sew off the ends here. Sew from the very top, all the way down until about 1/4th of an inch from the bottom & backstitch there. (I guess I skipped taking a photo of this step, as well!)
Step 13: Add your other 2X3 panel for the opposite side. Here is a view of the three panels all together.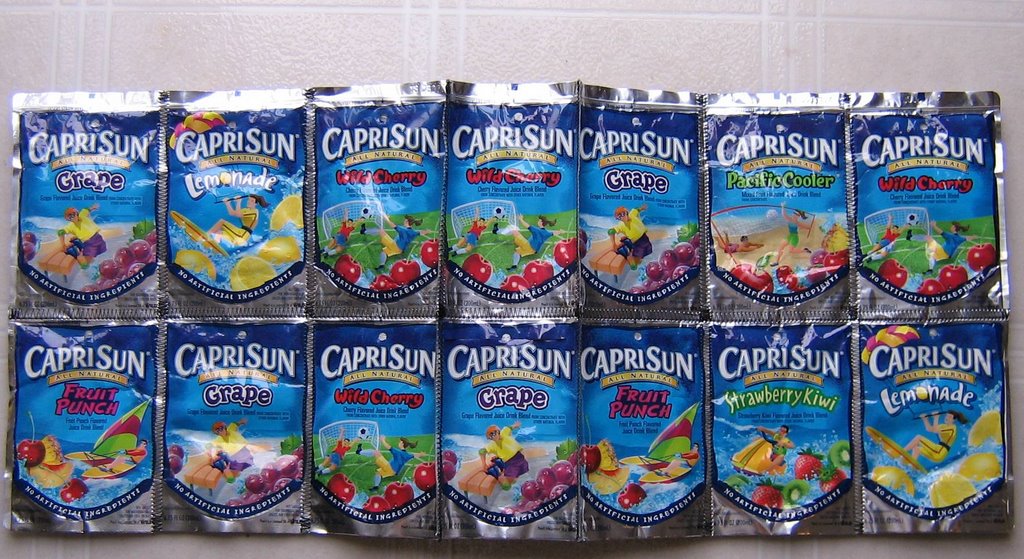
Notice the two seams in the center are different. These are the ones that have been sewn wrong sides together. 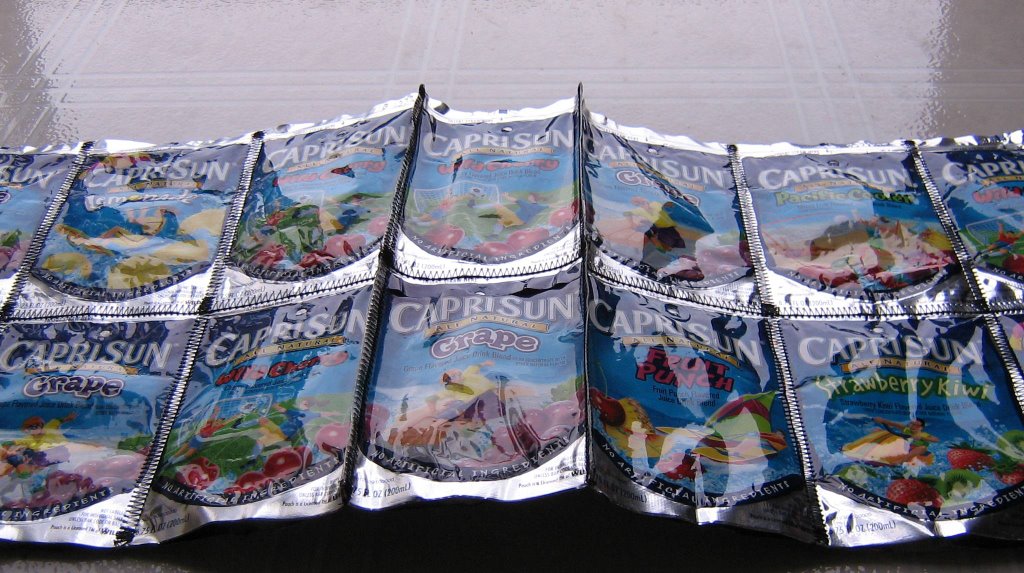
More to come...and I promise that it will start looking like a purse soon!
Tuesday, March 7, 2006
Welcome To Wiggle World
Oh yeah, it's the most fun place on the planet! 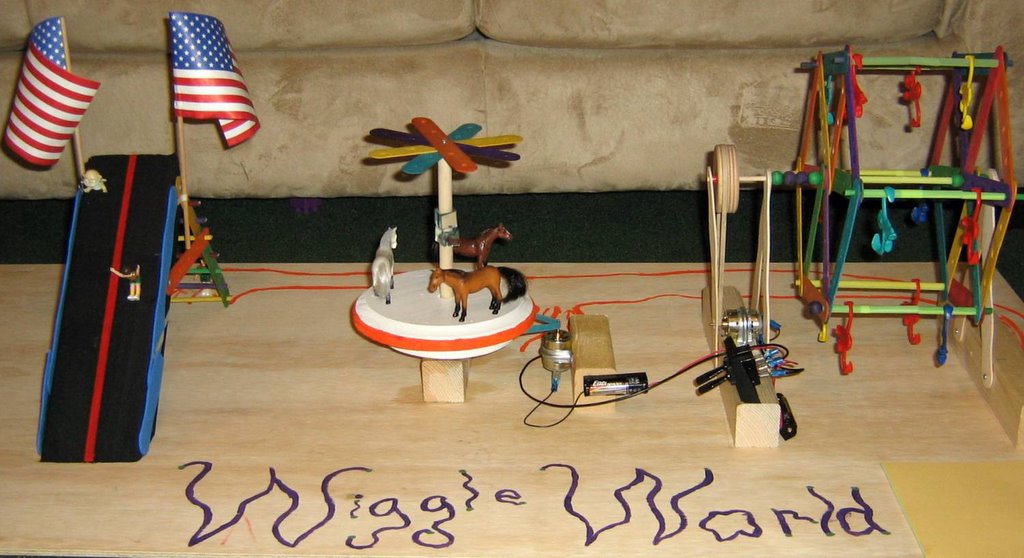
You know you wanna go there!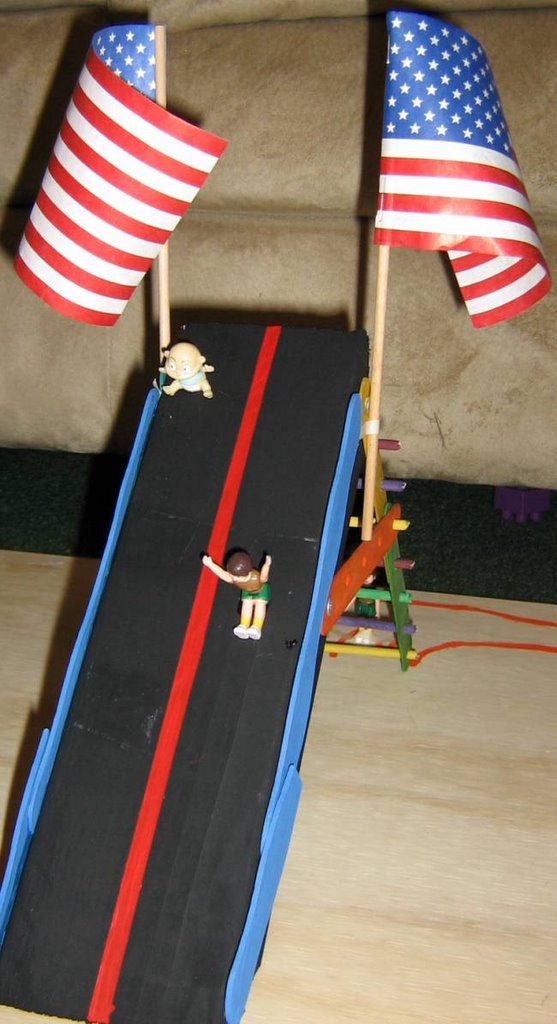
Forget Disneyland, let's all go to Wiggle World!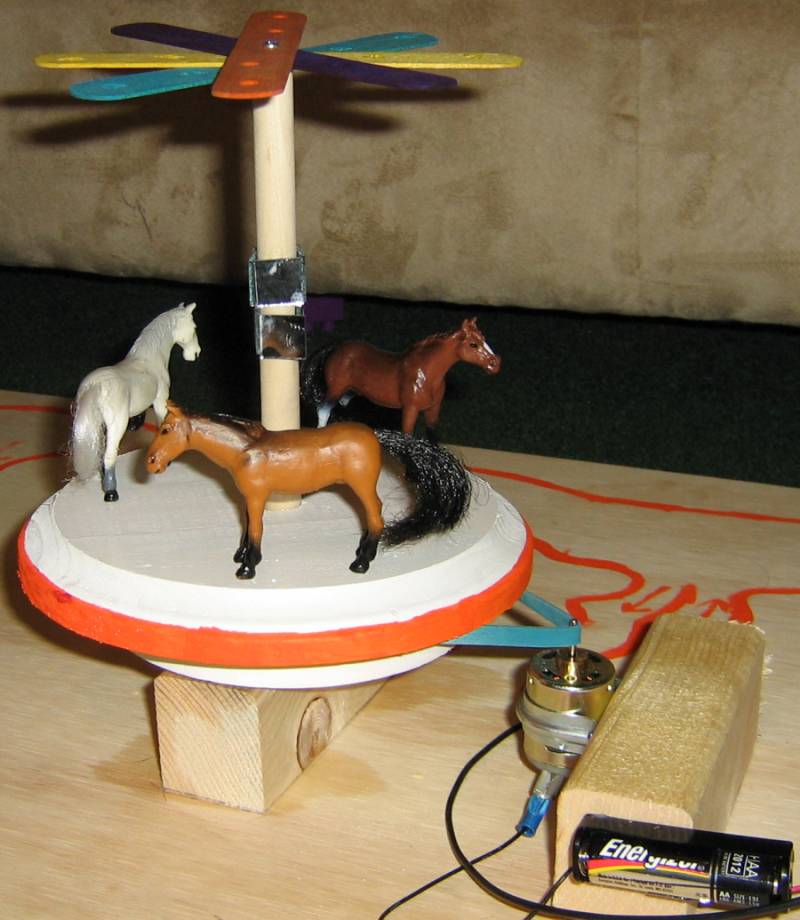
Ok, so we ran out of enthusiasm by the time we got to the carousel. We also ran out of supplies & the store wasn't open that day. Ended up using the roof of the carousel underneath, to guide the rubberband belt, so had to improvise up top.
Wheeee! 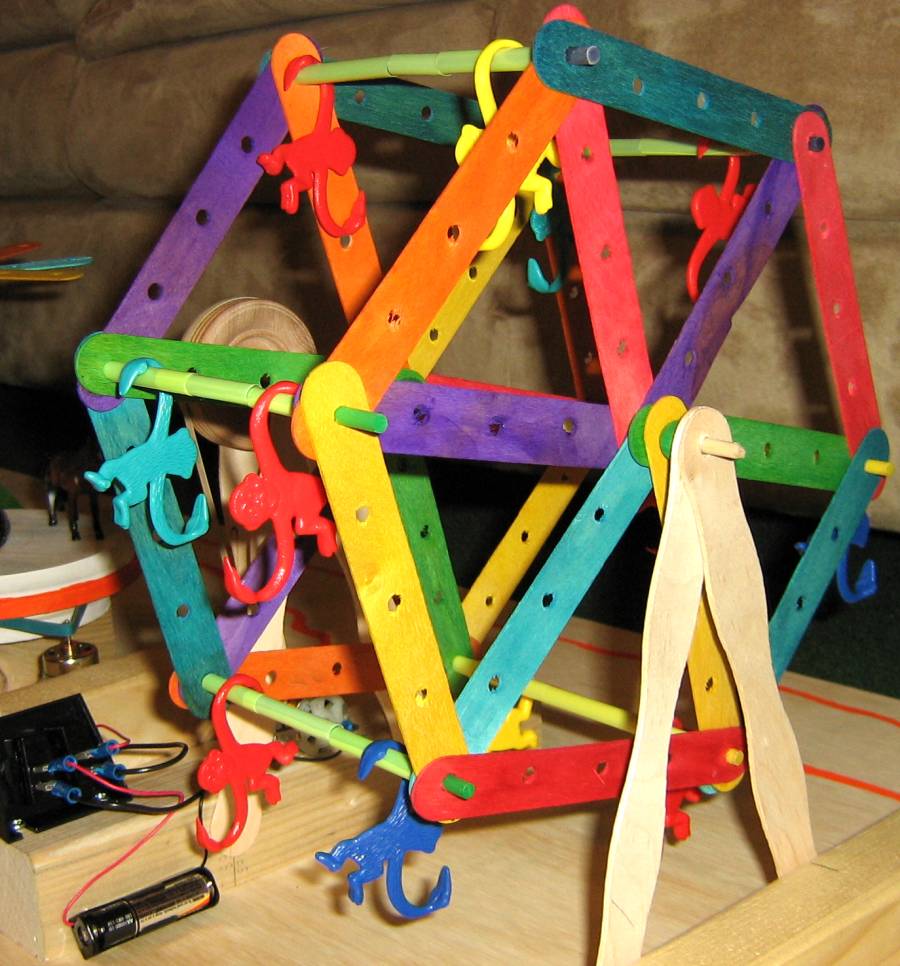
Click to play a video & see the rides come to life! (no sound)
http://scrapaholic.castpost.com/345961.html
Click for another view:
http://scrapaholic.castpost.com/345776.html
Friday, February 24, 2006
Fiesta!
This is currently one of my favorite things to eat. Click on the recipe to get a bigger image. 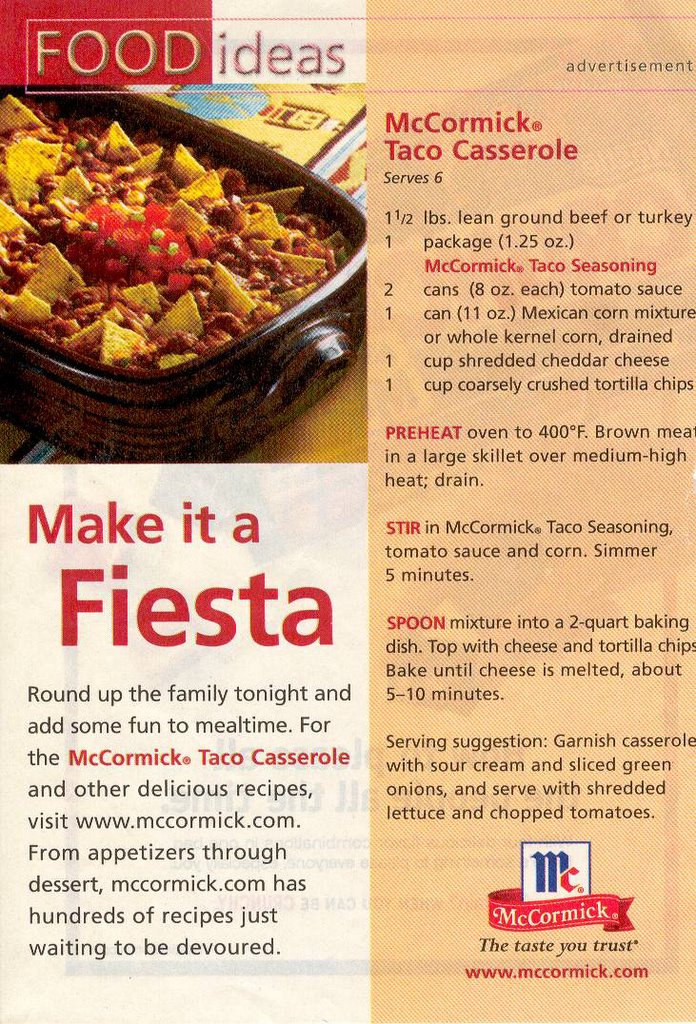
I use regular corn (not the mexi mix) & I serve it with plain white Minute rice. I just noticed it says to use 1 & 1/2 lbs. of ground beef - I only use one pound, since that's how it's usually sold.
Once you put the meat mixture into the 13X9 dish, only put chips & cheese on top of the part you are going to be eating right away. If you cover it with chips & don't eat it all, they will get soggy! The leftover meat portion can be covered & put in the refrigerator & then you can put the chips & cheese over the rest of it the next day & bake it long enough to heat it up & melt the cheese. Enjoy!
Wednesday, February 22, 2006
Shag Quilt Post 2
Once you have your fabric squares cut, you can then use the same rotary cutting method to cut your batting. The person I asked at the quilt shop recommended this: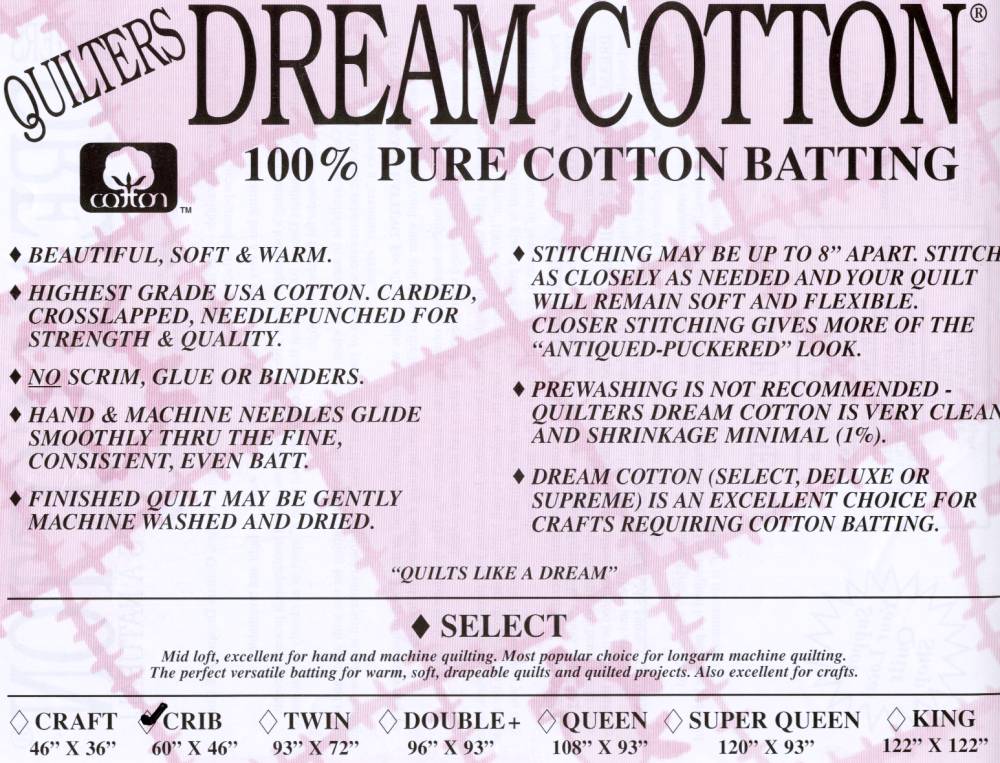
This is the first time I have ever used this brand of batting, but it was very easy to work with. Here are some photos showing how I cut the batting: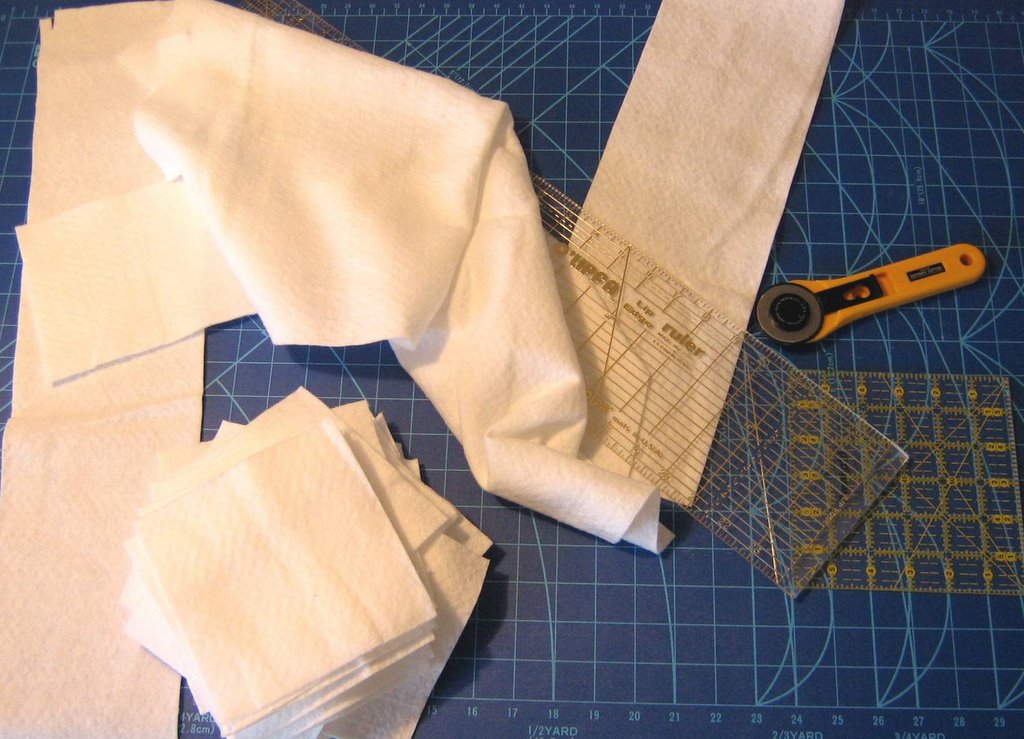
Cut your batting into strips as wide as your squares are going to be. Then turn the strip sideways & cut it into a square like this: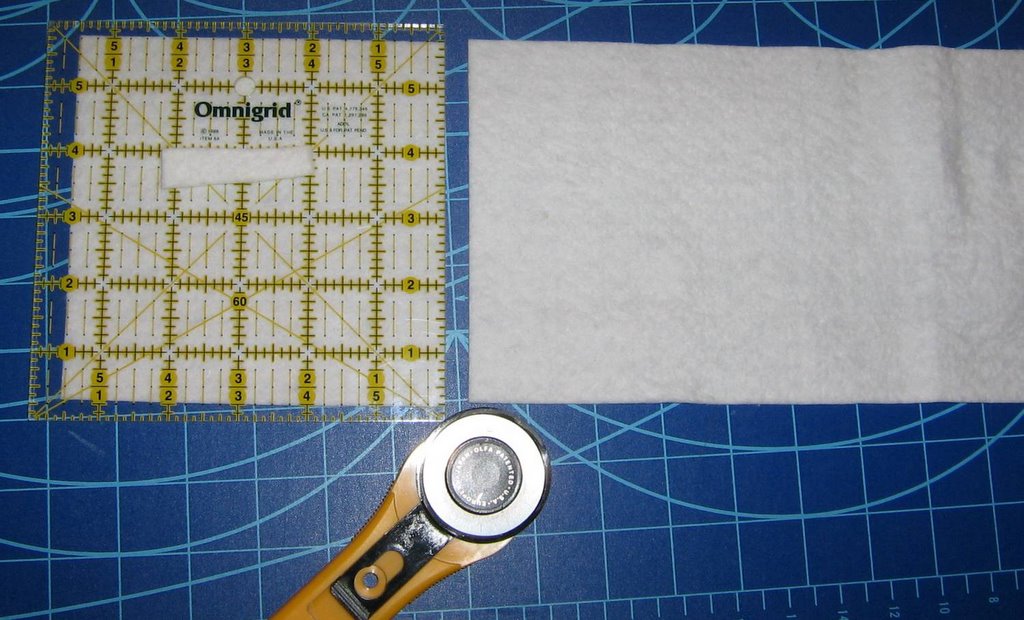
And yes, that blade is sharp - be careful! I didn't even feel this one at all & never knew I had nicked my finger until I saw it later!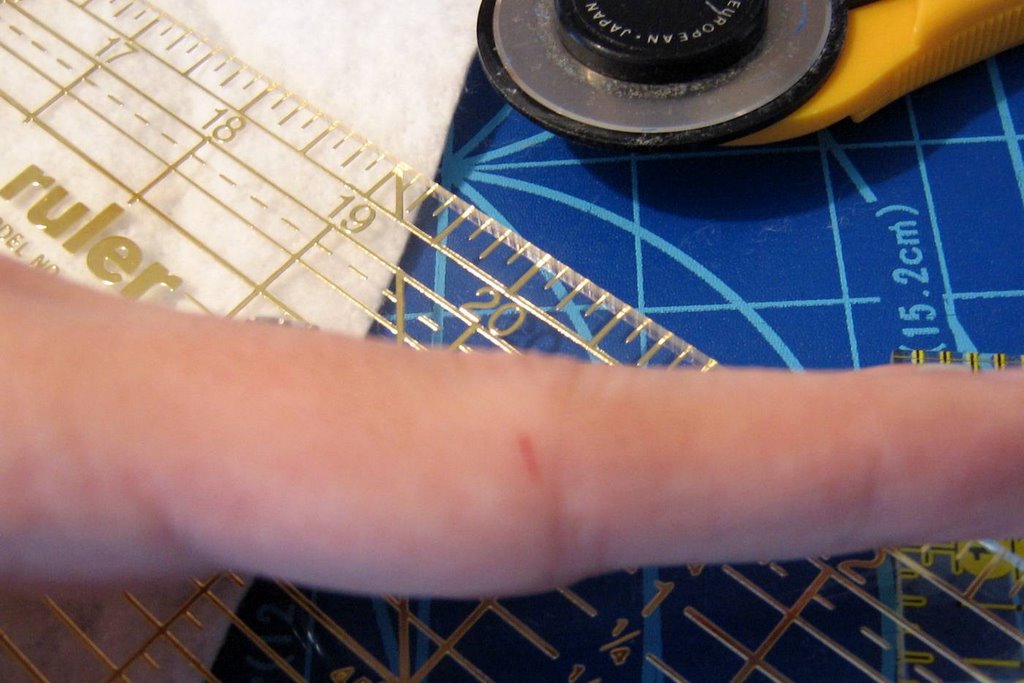
As I said in Post 1, you will have to allow some fabric for your seam allowance. Your batting squares will be smaller than your fabric squares like this: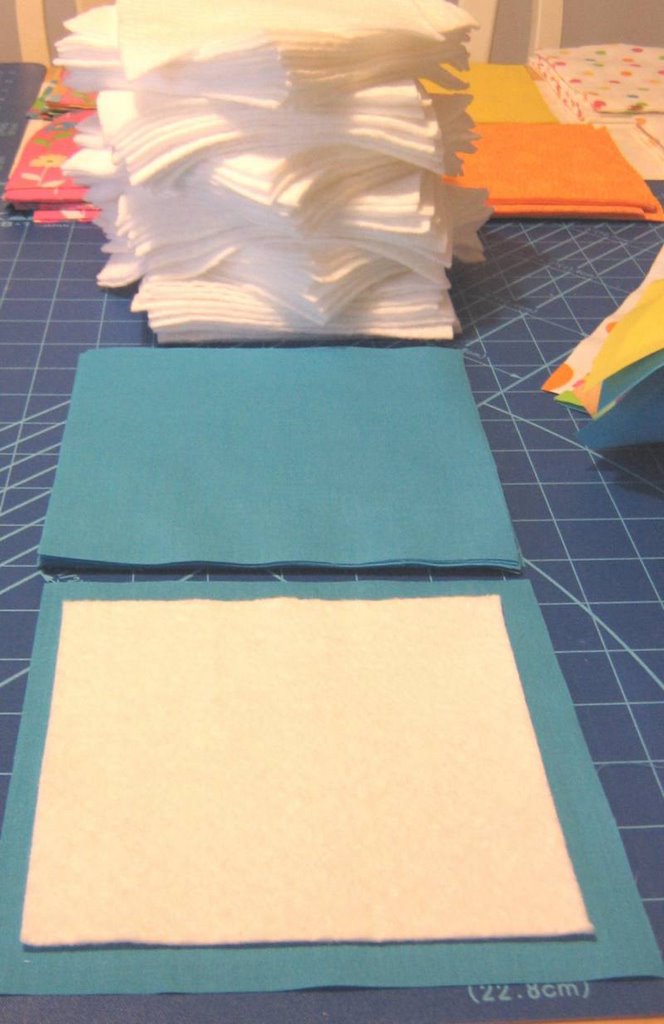
My fabric squares are 6.5 inches and my batting squares are 5.5 inches. Your squares can be any size, as long as your batting squares are at least 1 inch smaller (even smaller if you want more fabric shagged around each edge). Email me with any questions or comments.
Peppermint Pattie Poke Cake
This is from the back of a cake mix box. I thought I would share it with you, since it is quite delicious. I ended up using Mint Chocolate Jell-o pudding, instead of white chocolate, but other than that, I followed this recipe: 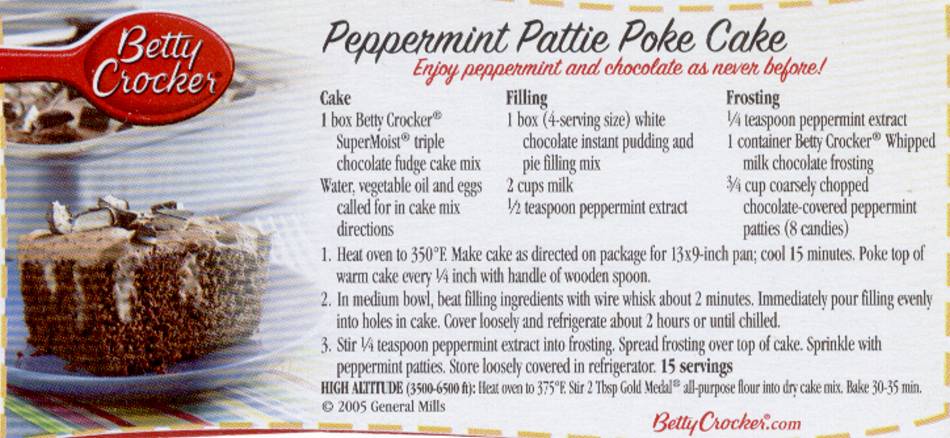
Click on the recipe to see a larger, more readable image. Be sure to wait until the cake is cooled before starting the next steps to make the filling & frosting! Enjoy.
Wednesday, February 15, 2006
Shag Quilt Post 1
I am in the process of making my first shag quilt. I took photos, so that you can follow along. I hope it inspires you to make one of your own! Since this is the first quilt of this kind that I have made, I am just guessing at some things & using other websites as loose guidelines. This project is pretty simple to customize to your liking, so change the color, change the size of the squares, change the fabric type & change the finished size to suit your needs. These are just the steps I took to make it.
Step 1: Go shopping & buy pretty fabric. I bought one yard each of 8 different fabrics & two yards of the turquoise, for the backing. I won't be using all eight yards for my quilt, but I will explain more about how to figure the yardages you will need later.
Step 2: Wash & dry fabrics, sorted by light & dark colors. I use Shout Color Catcher quite a bit in my bright or dark colored laundry, especially on new fabrics like these.
Step 3: Iron it. All of it.
Step 4: Figure out how many squares can be cut from the fabric purchased. Now I guess most logical people would figure out what size quilt & what size squares they would like & then purchase their fabric accordingly, but as you can see....I'm not most people. I just randomly bought what I thought was pretty & figured I could make something out of it.
If your fabric is 45" wide, decide what size blocks you want to have in your quilt. I decided that I would get the most out of my fabric by having 5 1/2 inch blocks. To allow for my seam allowance, I cut my squares 6 & 1/2 inches by 6 & 1/2 inches. I did not start taking photos with my new camera until after I had all of my fabric cut, so if you have not used a rotary cutter before & you need detailed instructions on this step, click here.
Once you have decided what size squares you want, decide how much of a seam you want showing. My quilt will have 1/2 inch around each square, so look at my photos later & see if you like the way it looks. If you want a 1/2 inch seam showing, add 1 whole inch to your block size when you cut it, so that once it is sewn, each side will have a 1/2 inch.
Since I have 8 different fabrics, my quilt is going to be 8 blocks wide, using each color only once. After they were all cut, I took the number of turquoise squares I had & divided that by 8, to find out how many rows I could get out of my backing fabric. This number came to 11, so my quilt will be 8 blocks wide by 11 blocks tall.
Next I will show you the batting.
Tuesday, January 10, 2006
My Next Project
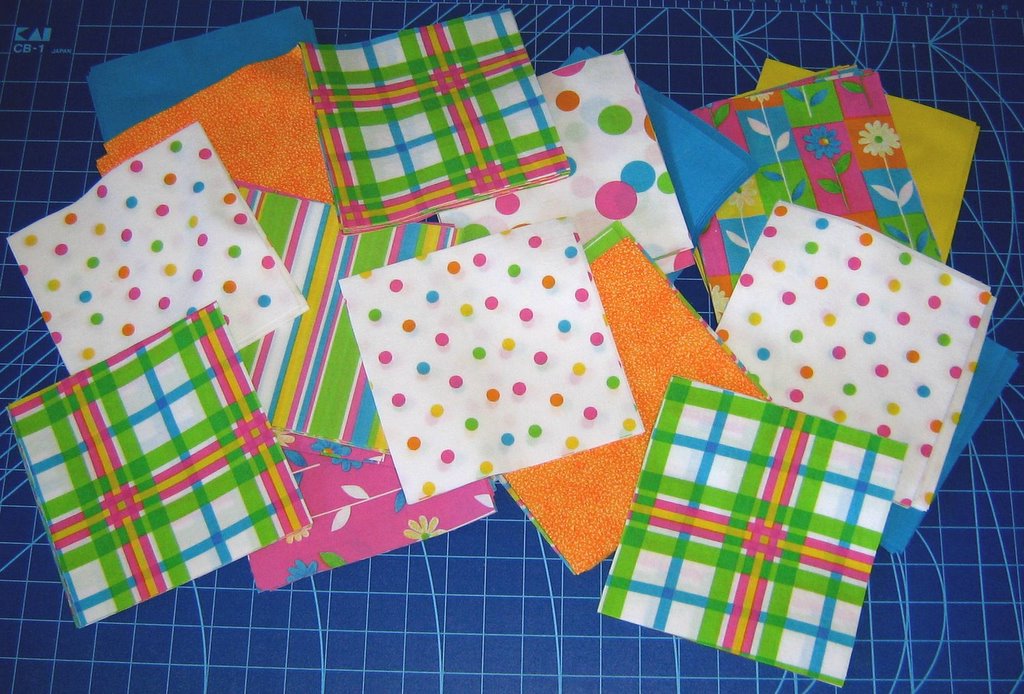
I forgot to show you what I am working on next. This will be a shag quilt. There are 336 squares here, that I cut last night & today. This will make more than one quilt, but I am making something for myself to start with & who knows what else I will end up making to go with it. I just love all these bright colors, even if they don't have my favorite color, purple, in them!
Patriotic Friendship Quilt
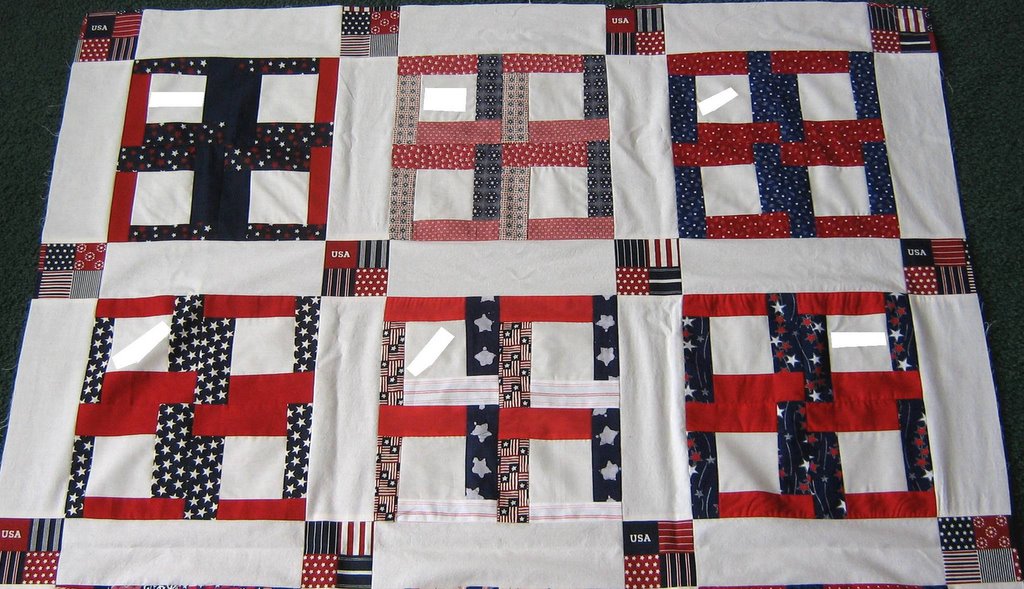
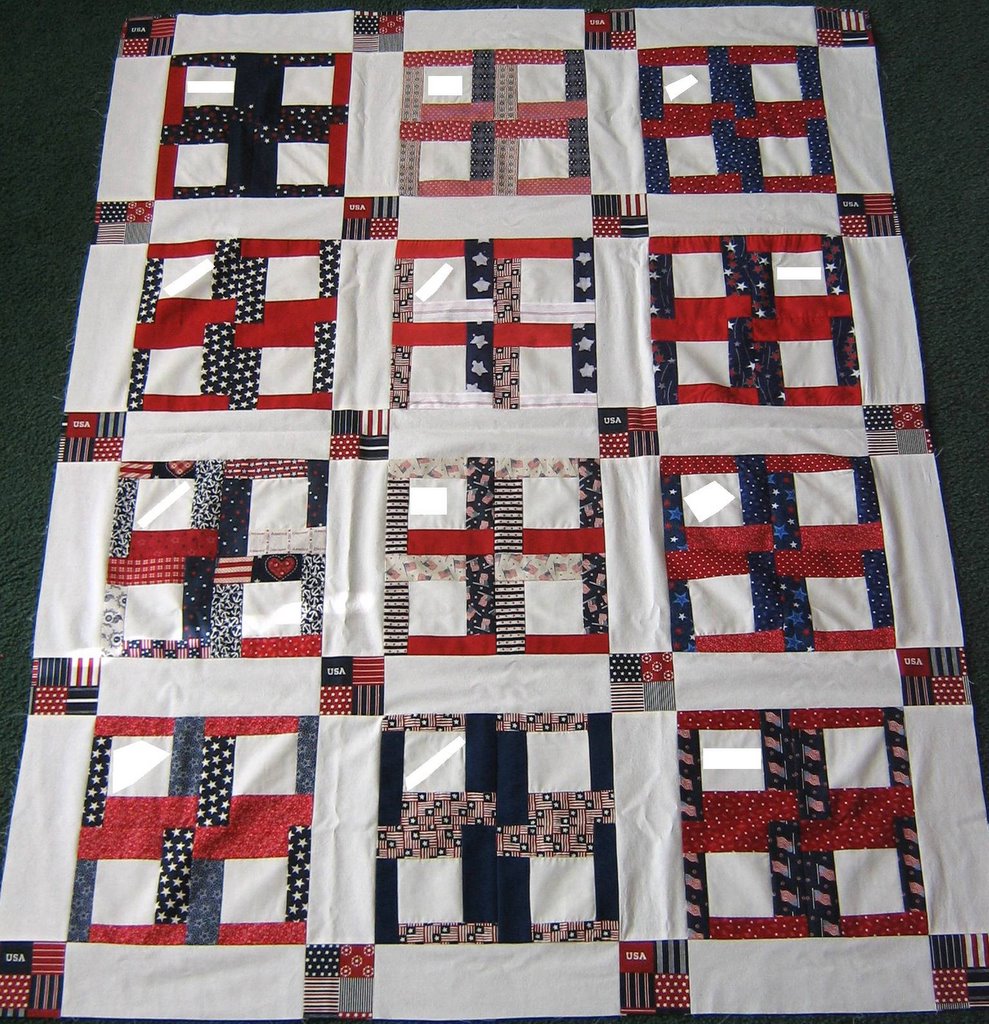
So I worked on this quilt for several hours this weekend & I got the top allllll put together. Yay!
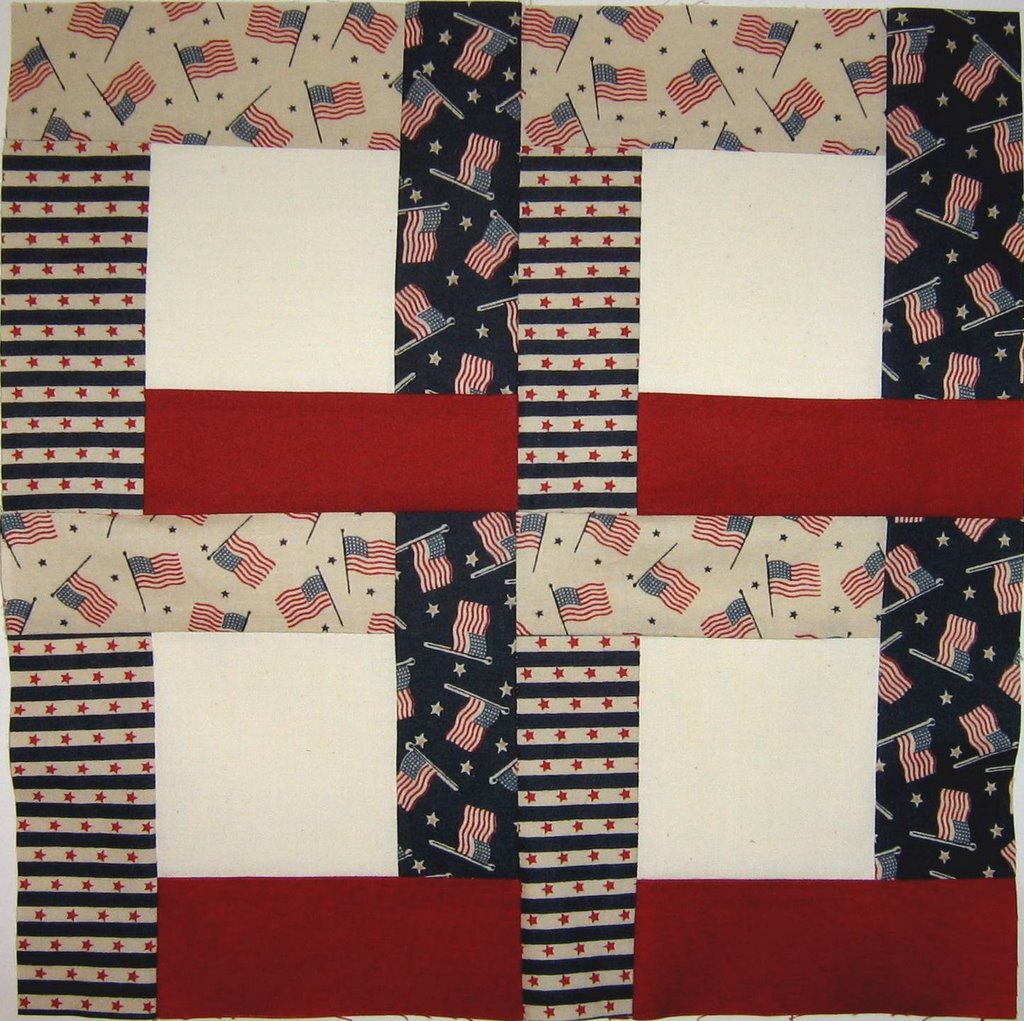
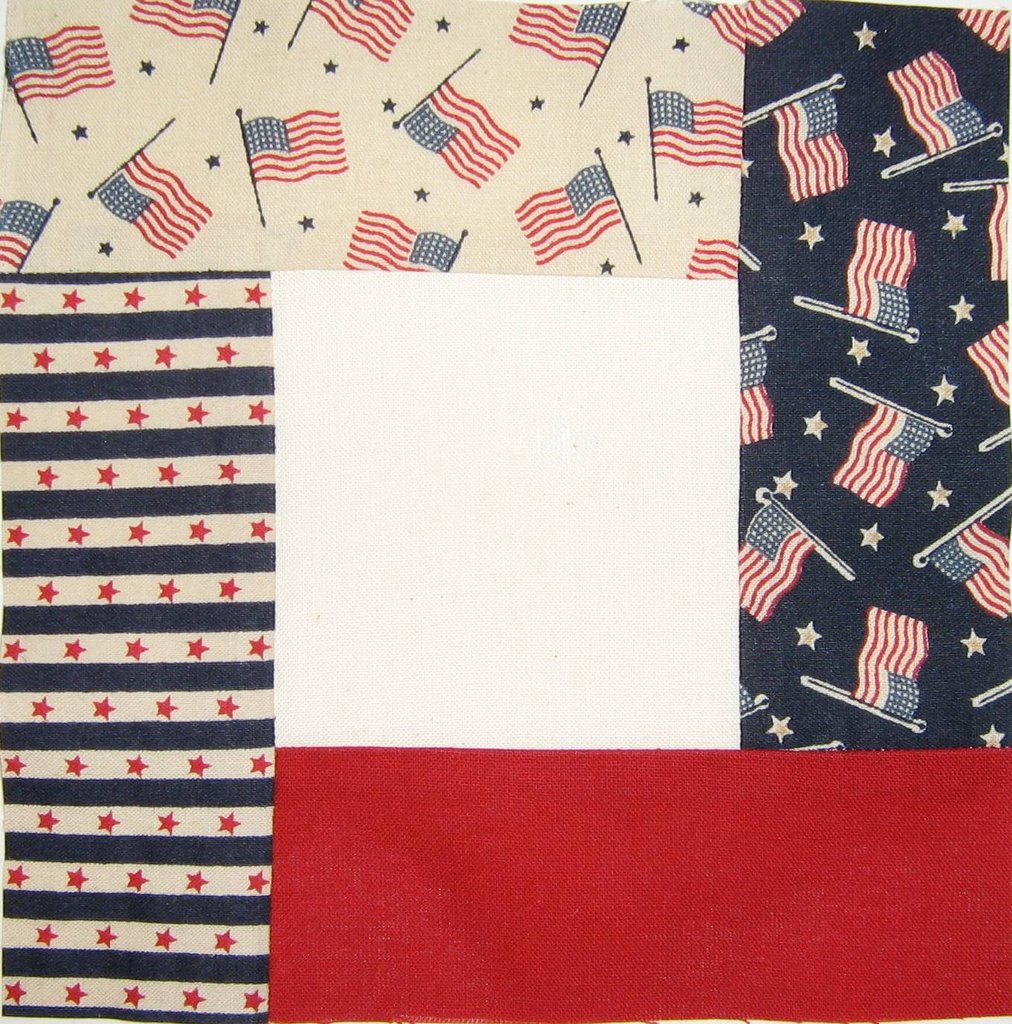
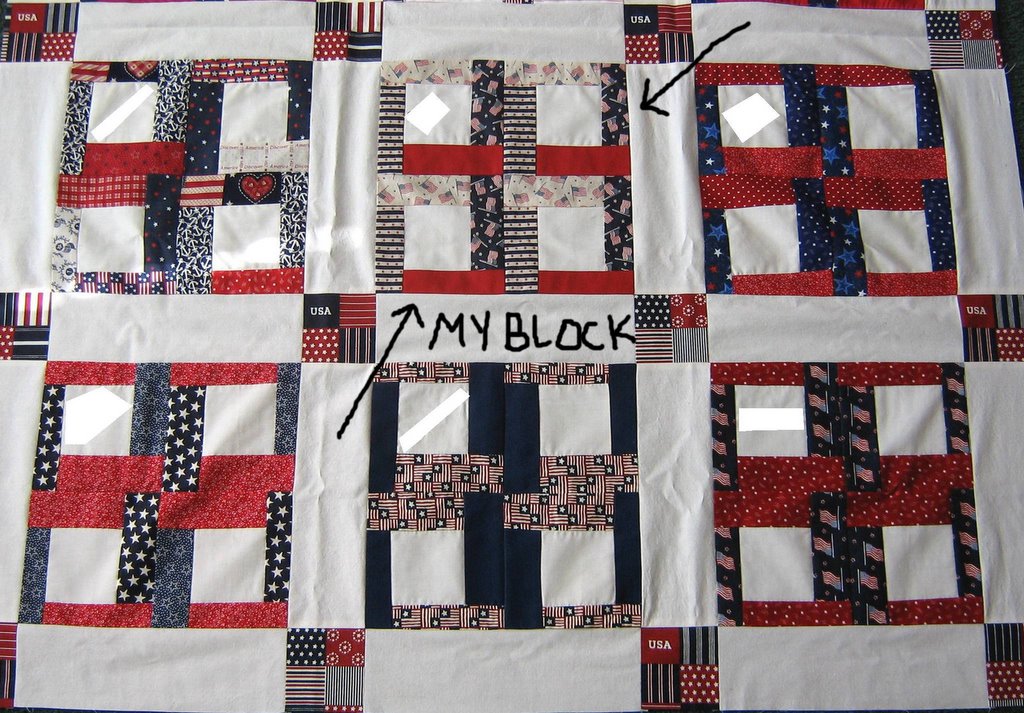
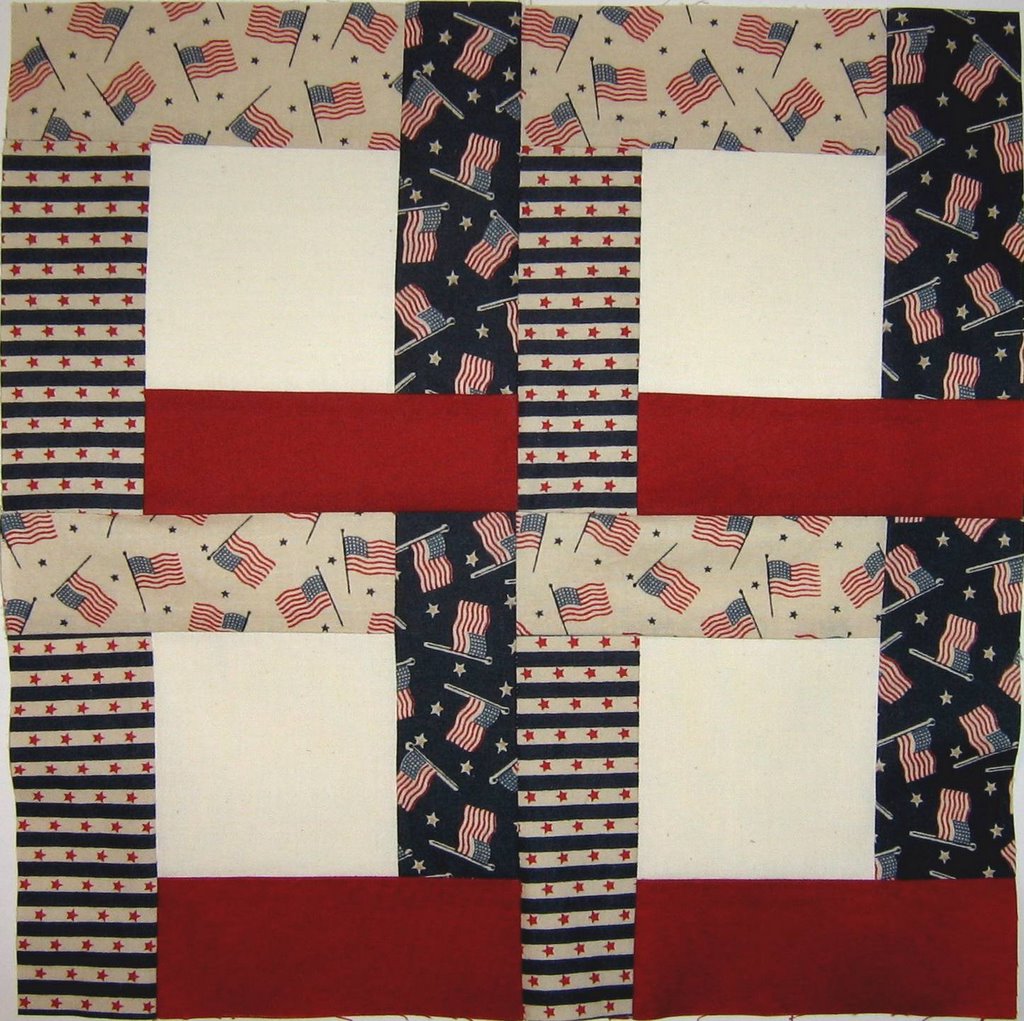
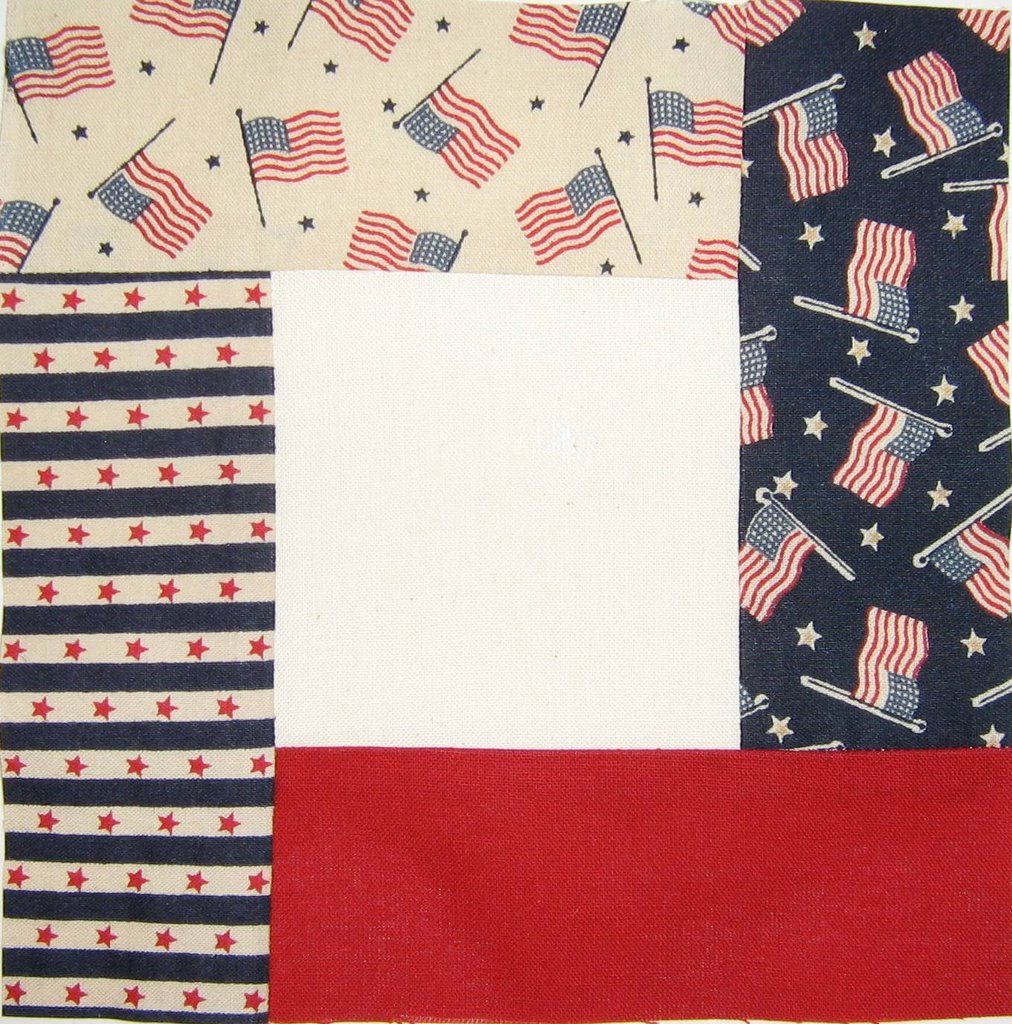
The story of this quilt (they all have one, you know) is that I belong to a quilting bee. So once a month, I join eleven ladies & we have a demonstration of a technique, good food, & nice conversations. Last year, we decided to do Friendship Quilts for each other. Each person makes one block for each of the other members & we all make a block for ourself & we each end up with a 12 block quilt of our very own! I chose this block pattern (Bright Hopes) & asked them to pick patriotic prints for their blocks. Each lady embroidered her name onto her block & I edited those out of these photos, so that is what the bright white blobs are. Click on the pics to see the quilt better.
The top half: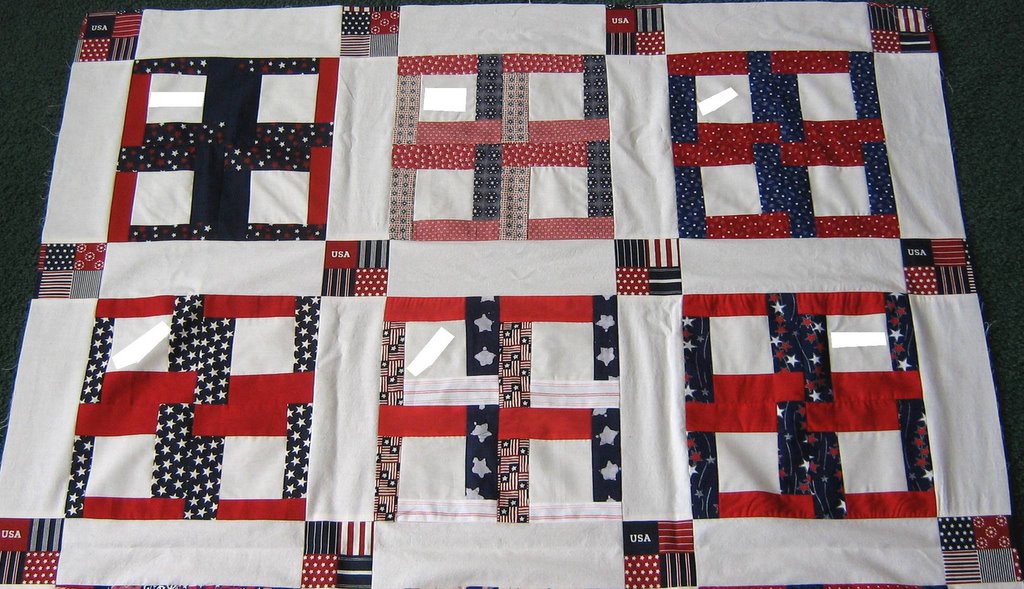
Thankfully, I sew better than I draw with the photo paint sprayer thingy. I can't draw worth a dang! Here is the bottom half, including my block: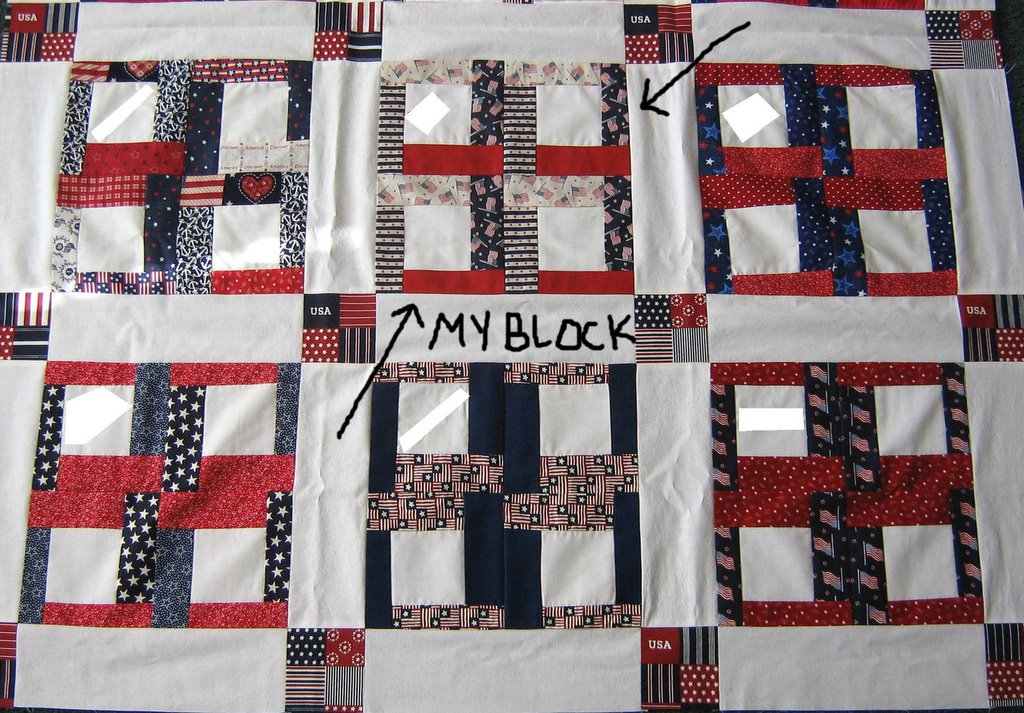
And here is the whole thing: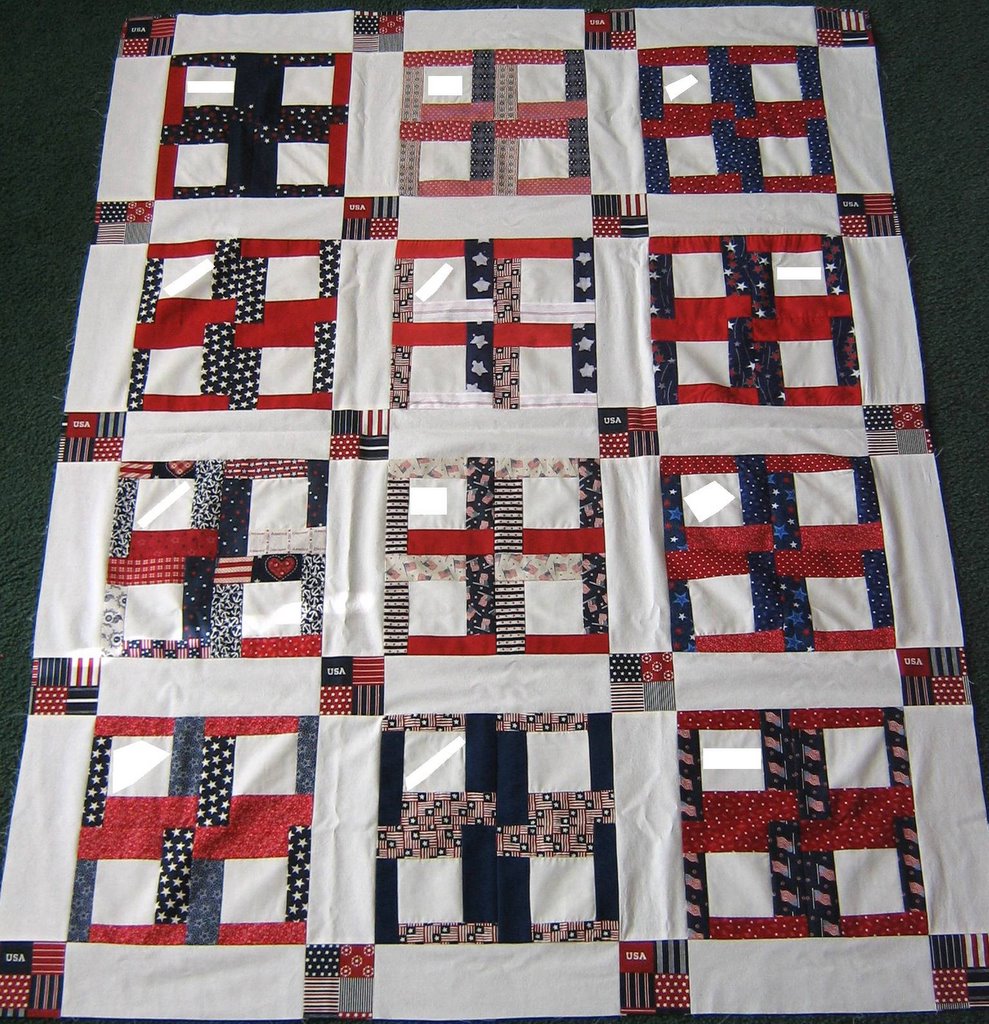
Isn't it pretty? Now to save up enough money to send it off to be quilted - ack! I can't wait to see the finished result, though!