
This is currently one of my favorite things to eat. Click on the recipe to get a bigger image. 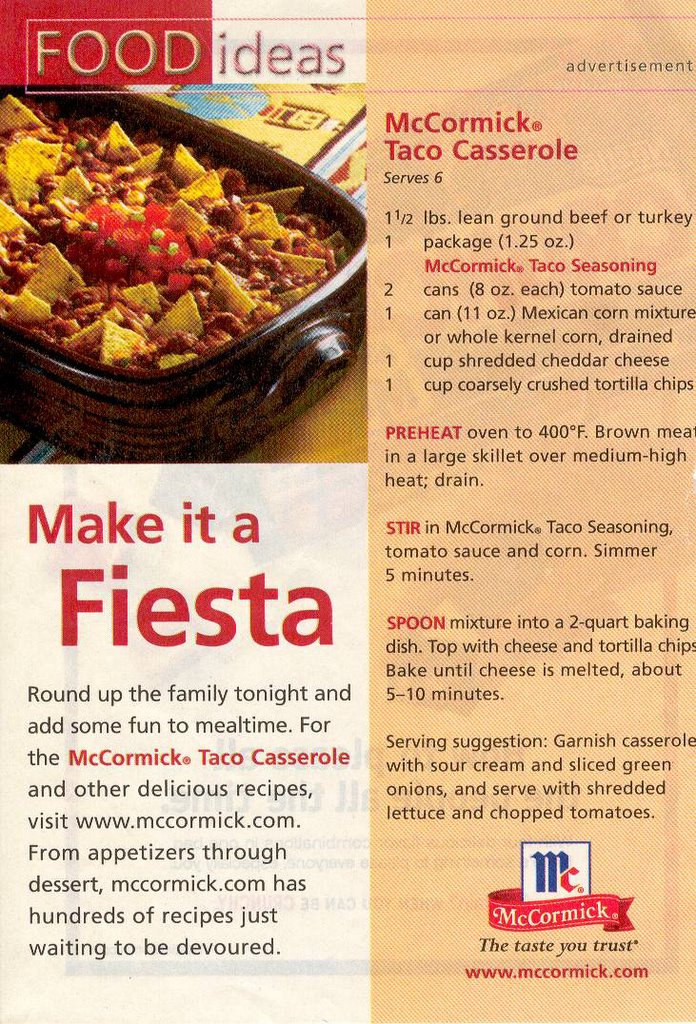
I use regular corn (not the mexi mix) & I serve it with plain white Minute rice. I just noticed it says to use 1 & 1/2 lbs. of ground beef - I only use one pound, since that's how it's usually sold.
Once you put the meat mixture into the 13X9 dish, only put chips & cheese on top of the part you are going to be eating right away. If you cover it with chips & don't eat it all, they will get soggy! The leftover meat portion can be covered & put in the refrigerator & then you can put the chips & cheese over the rest of it the next day & bake it long enough to heat it up & melt the cheese. Enjoy!
Friday, February 24, 2006
Fiesta!
Wednesday, February 22, 2006
Shag Quilt Post 2
Once you have your fabric squares cut, you can then use the same rotary cutting method to cut your batting. The person I asked at the quilt shop recommended this: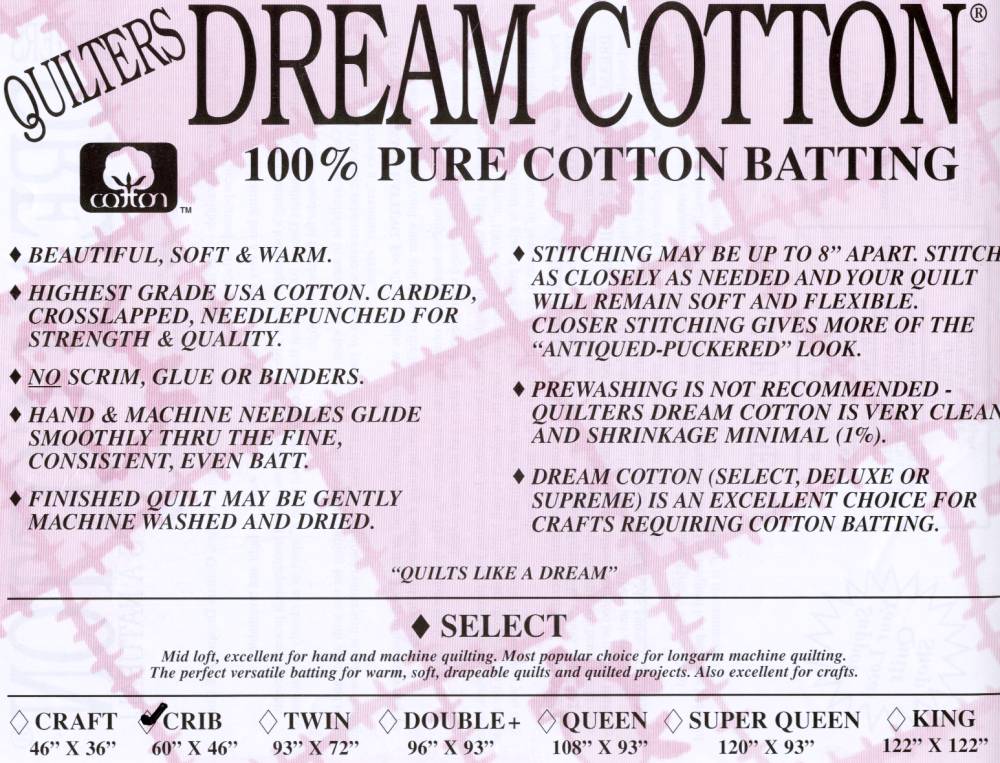
This is the first time I have ever used this brand of batting, but it was very easy to work with. Here are some photos showing how I cut the batting: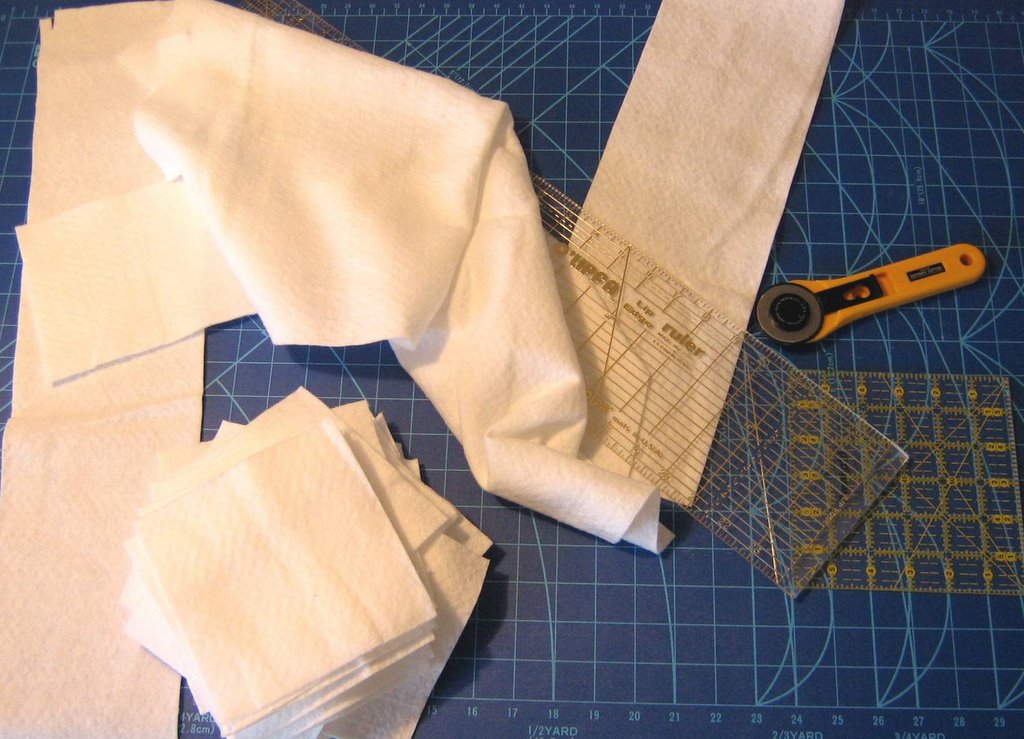
Cut your batting into strips as wide as your squares are going to be. Then turn the strip sideways & cut it into a square like this: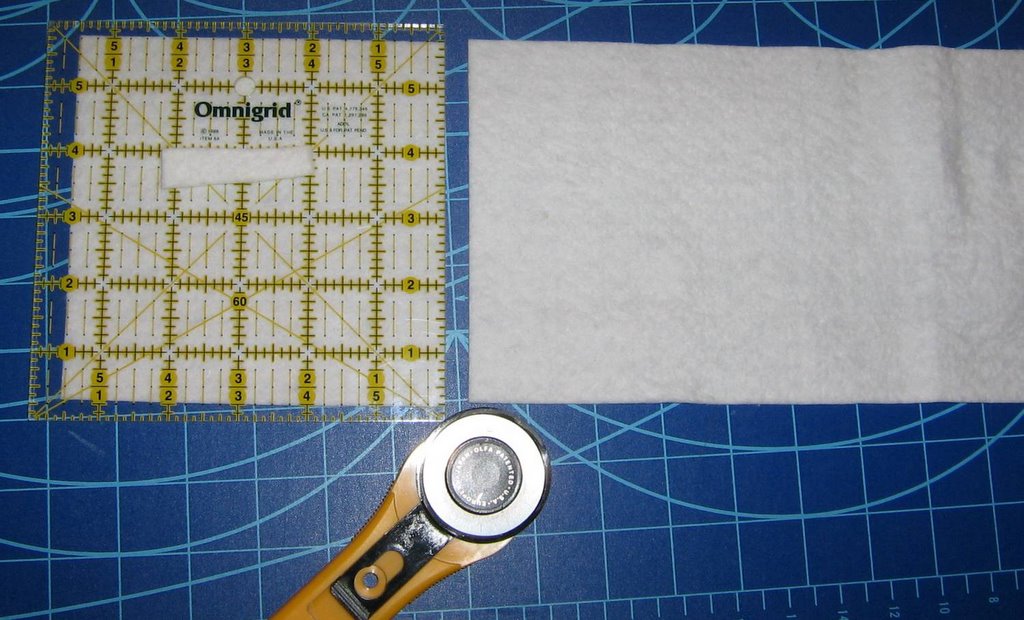
And yes, that blade is sharp - be careful! I didn't even feel this one at all & never knew I had nicked my finger until I saw it later!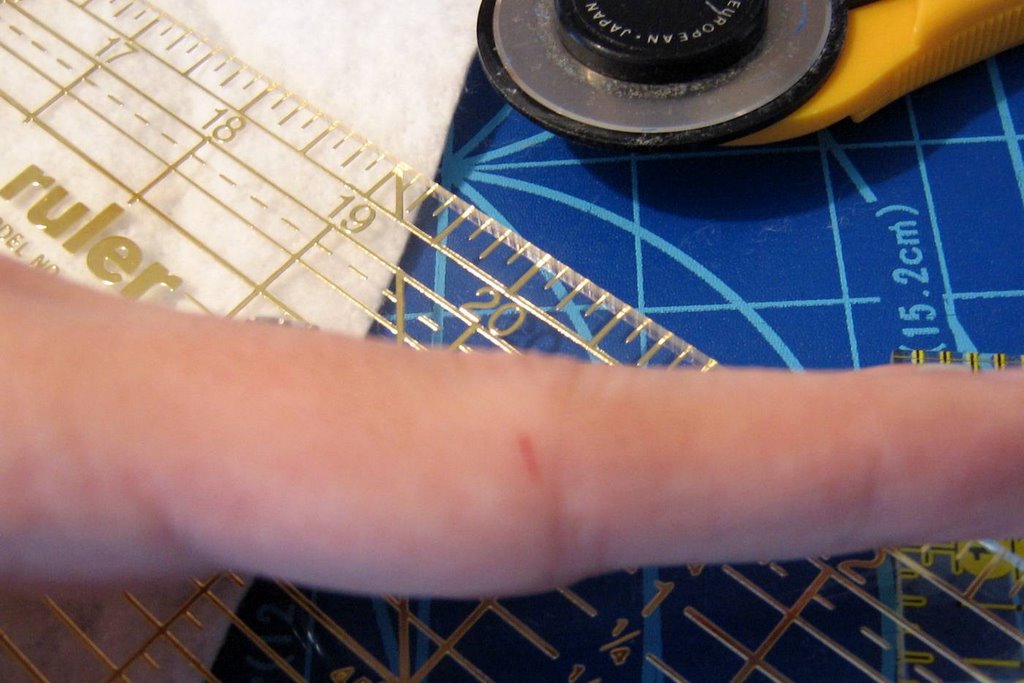
As I said in Post 1, you will have to allow some fabric for your seam allowance. Your batting squares will be smaller than your fabric squares like this: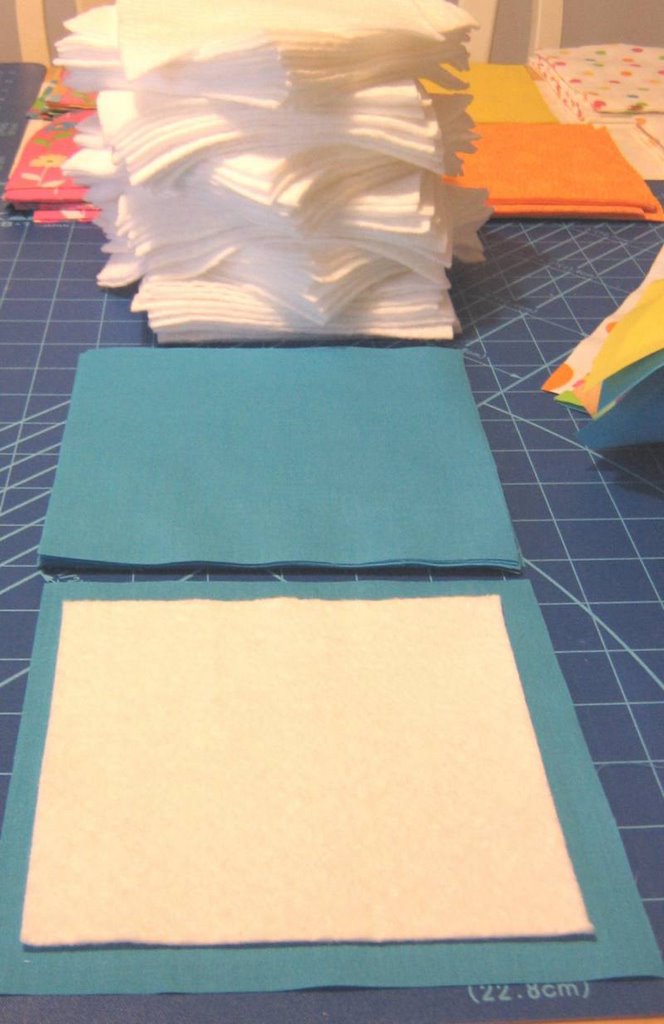
My fabric squares are 6.5 inches and my batting squares are 5.5 inches. Your squares can be any size, as long as your batting squares are at least 1 inch smaller (even smaller if you want more fabric shagged around each edge). Email me with any questions or comments.
Peppermint Pattie Poke Cake
This is from the back of a cake mix box. I thought I would share it with you, since it is quite delicious. I ended up using Mint Chocolate Jell-o pudding, instead of white chocolate, but other than that, I followed this recipe: 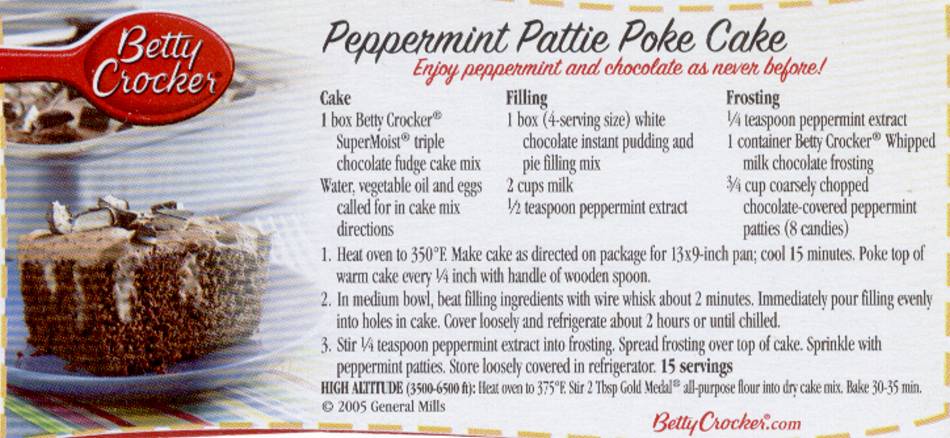
Click on the recipe to see a larger, more readable image. Be sure to wait until the cake is cooled before starting the next steps to make the filling & frosting! Enjoy.
Wednesday, February 15, 2006
Shag Quilt Post 1
I am in the process of making my first shag quilt. I took photos, so that you can follow along. I hope it inspires you to make one of your own! Since this is the first quilt of this kind that I have made, I am just guessing at some things & using other websites as loose guidelines. This project is pretty simple to customize to your liking, so change the color, change the size of the squares, change the fabric type & change the finished size to suit your needs. These are just the steps I took to make it.
Step 1: Go shopping & buy pretty fabric. I bought one yard each of 8 different fabrics & two yards of the turquoise, for the backing. I won't be using all eight yards for my quilt, but I will explain more about how to figure the yardages you will need later.
Step 2: Wash & dry fabrics, sorted by light & dark colors. I use Shout Color Catcher quite a bit in my bright or dark colored laundry, especially on new fabrics like these.
Step 3: Iron it. All of it.
Step 4: Figure out how many squares can be cut from the fabric purchased. Now I guess most logical people would figure out what size quilt & what size squares they would like & then purchase their fabric accordingly, but as you can see....I'm not most people. I just randomly bought what I thought was pretty & figured I could make something out of it.
If your fabric is 45" wide, decide what size blocks you want to have in your quilt. I decided that I would get the most out of my fabric by having 5 1/2 inch blocks. To allow for my seam allowance, I cut my squares 6 & 1/2 inches by 6 & 1/2 inches. I did not start taking photos with my new camera until after I had all of my fabric cut, so if you have not used a rotary cutter before & you need detailed instructions on this step, click here.
Once you have decided what size squares you want, decide how much of a seam you want showing. My quilt will have 1/2 inch around each square, so look at my photos later & see if you like the way it looks. If you want a 1/2 inch seam showing, add 1 whole inch to your block size when you cut it, so that once it is sewn, each side will have a 1/2 inch.
Since I have 8 different fabrics, my quilt is going to be 8 blocks wide, using each color only once. After they were all cut, I took the number of turquoise squares I had & divided that by 8, to find out how many rows I could get out of my backing fabric. This number came to 11, so my quilt will be 8 blocks wide by 11 blocks tall.
Next I will show you the batting.
Subscribe to:
Posts (Atom)

