
I've seen a couple of these bags around town & I've been saving pouches for quite some time. I finally decided to make a bag yesterday. I found a few websites with directions online, but nothing was this in-depth. The possibilities with these are endless, so get creative!
Step 1: Drink LOTS of Capri Sun & Kool-aid from pouches, or just get the kids in your neighborhood to save them for you.
Step 2: Wash them out in a sink of soapy water, then rinse. Be sure to rinse out the insides, using the straw, as well. Use the straw to fill with water & drain out until the water coming out is no longer soapy. Use the straw to blow air into empty pouches & set out to dry.
Step 3: After pouches have set out a few nights to dry, use a product such as Un-Do to get the straw wrapper glue off the back of them. All I could find at the store was Goo Gone & it worked just fine, by putting a dab on an old rag & rubbing the glue off.
Step 4: Figure out what size purse you want & make sure you have enough pouches.
I found this photo on the internet & decided to make one like it: 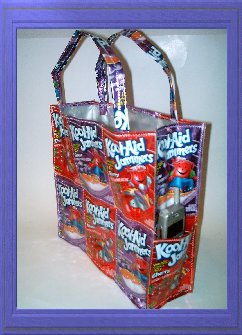
It will take 18 pouches.
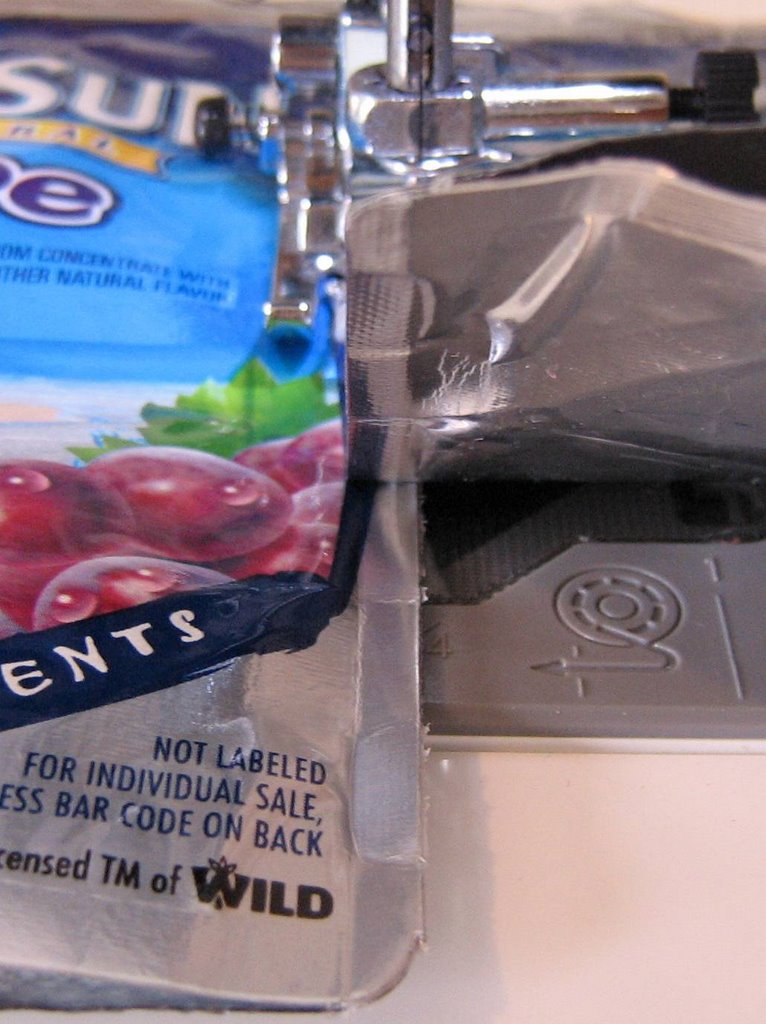
Step 5: CHANGE YOUR SEWING MACHINE NEEDLE! You will want to have all the "piercing power" you can possibly get. If you start having trouble piercing through the pouches later, remember to change your needle again.
Step 6: Take two pouches & sew them together, with a zig-zag stitch. 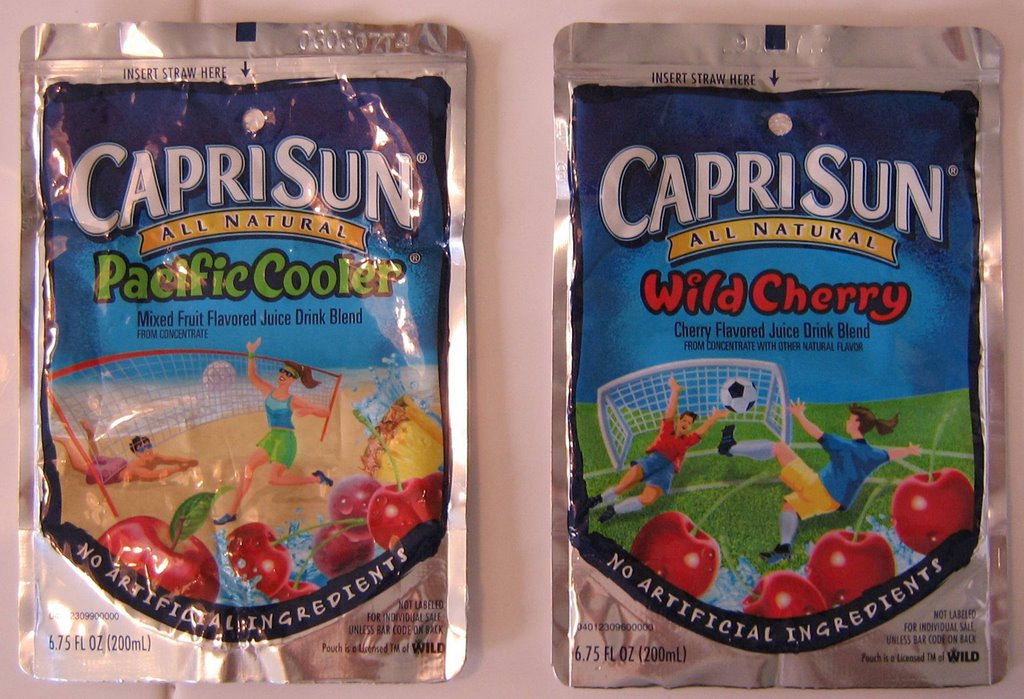
Click on any photo to see more detail. 
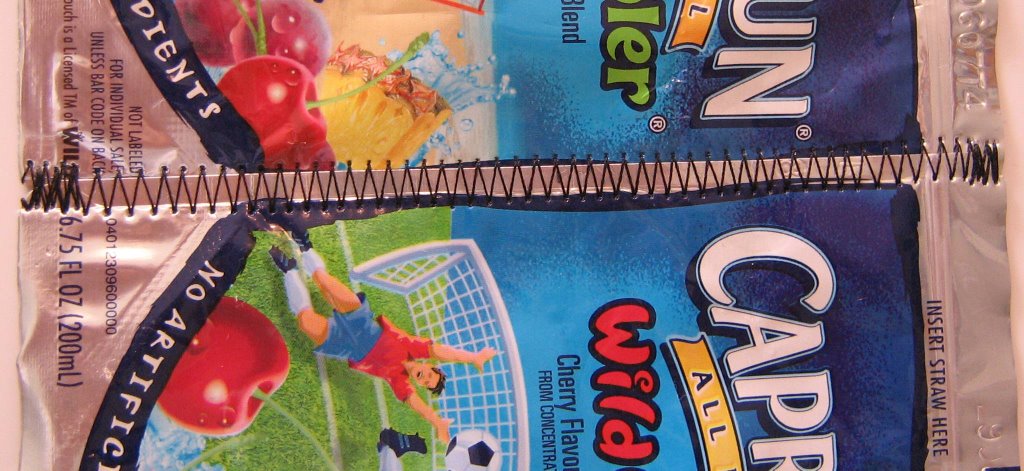
This shows the detail of how much they overlap. Some of the directions I read said 1/4th of an inch. I just overlapped the thin silver strips on the sides of these pouches & my zig-zag stitch covered both edges.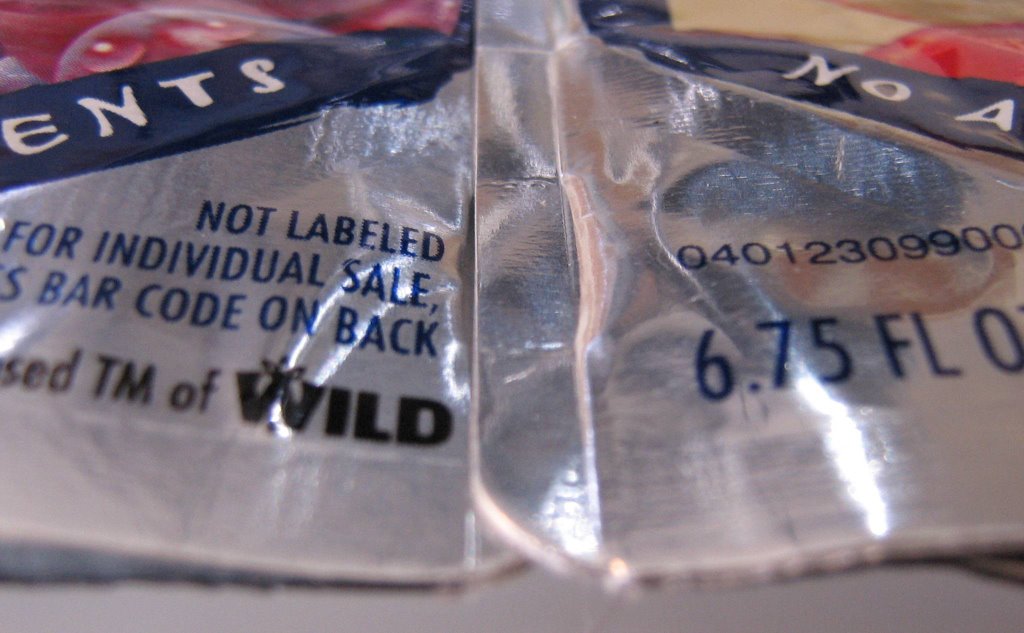
Step 7: Add another pouch to your row.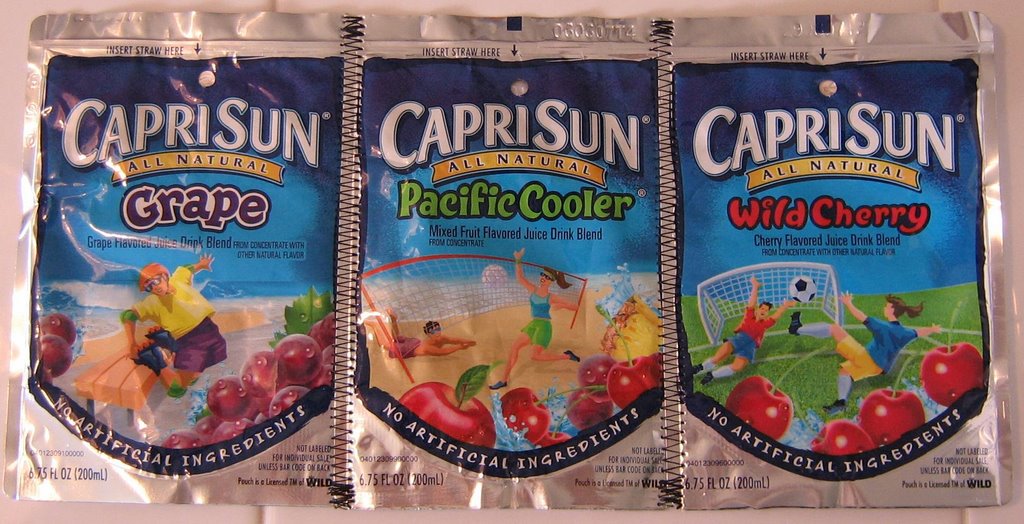
Back view: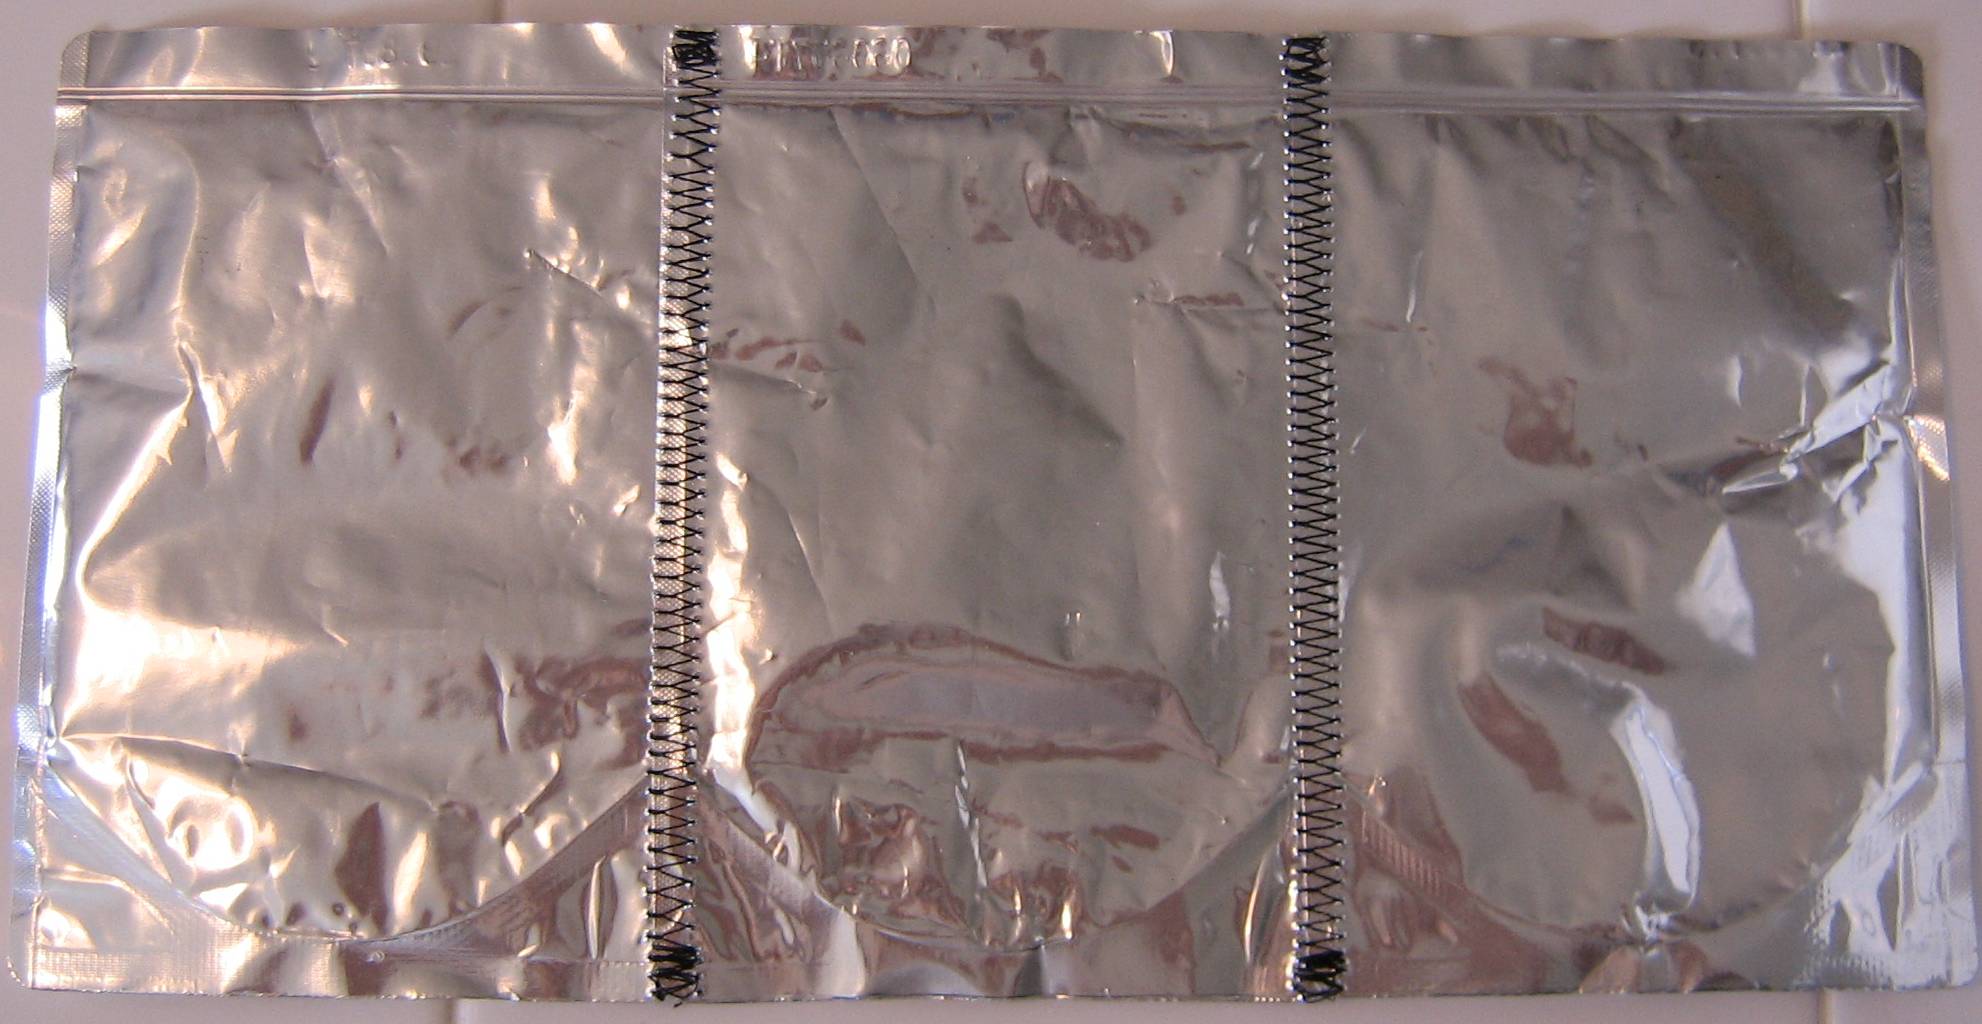

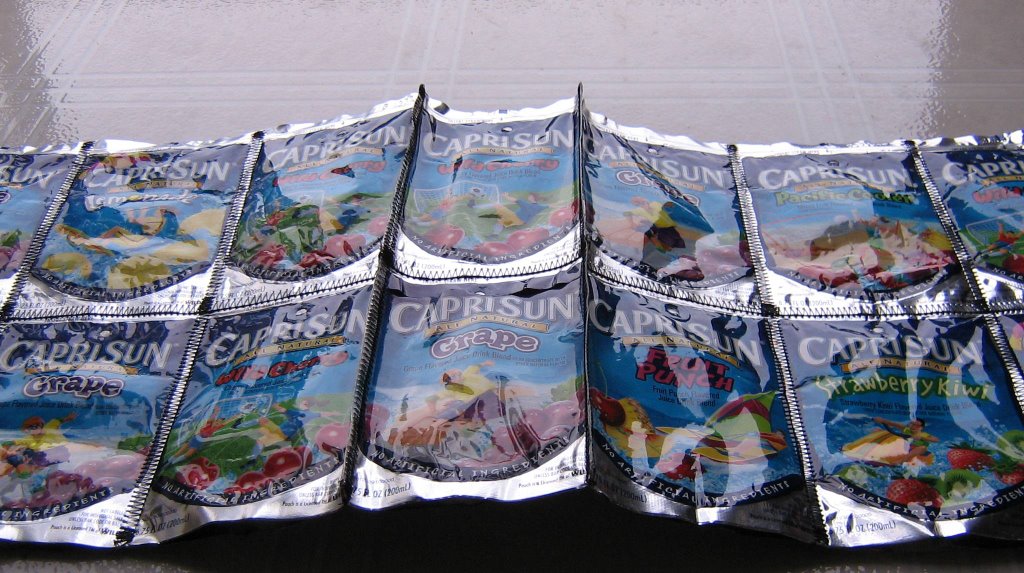
Step 8: Make another row, just like the one above. 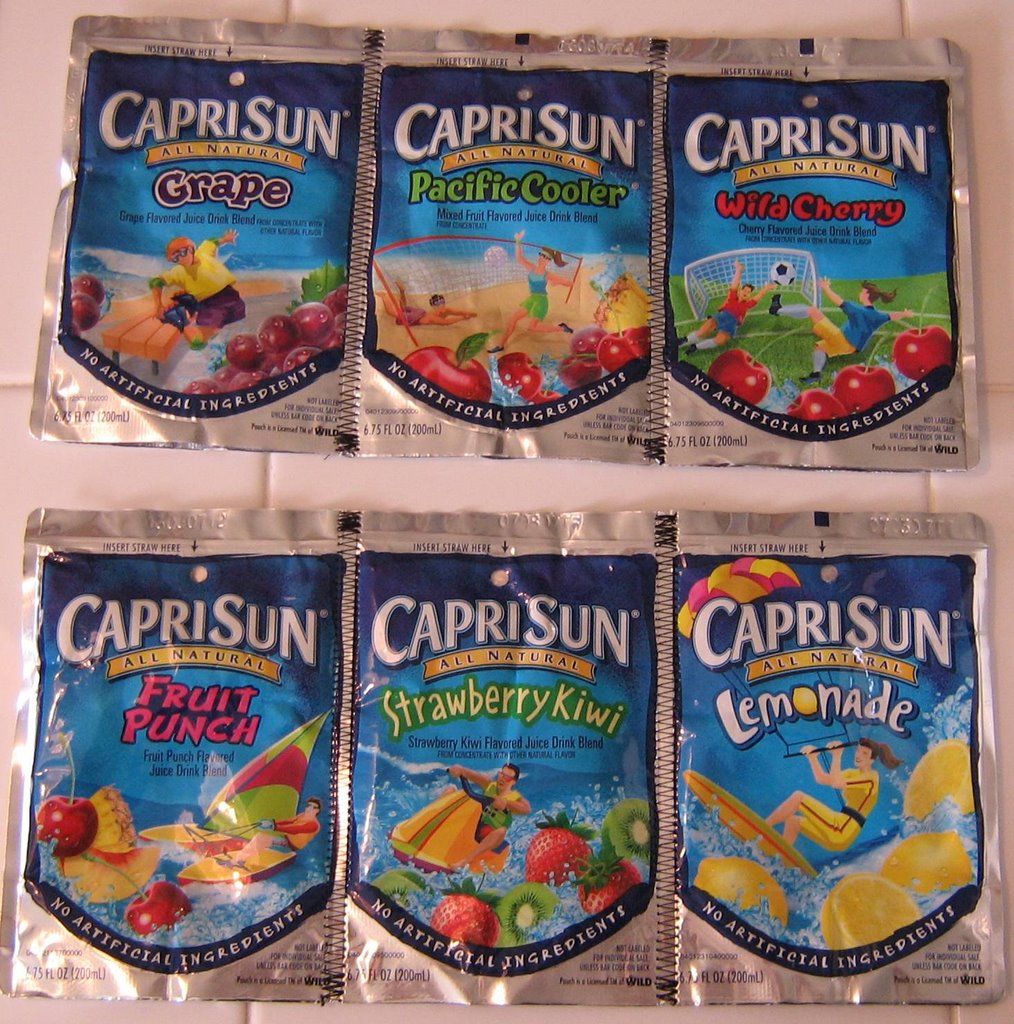
Step 9: Join the two rows together, to make one side of the bag. This is considered to be a 2X3 panel. Be sure to slow down, when sewing over the existing seams, since the layers get quite thick.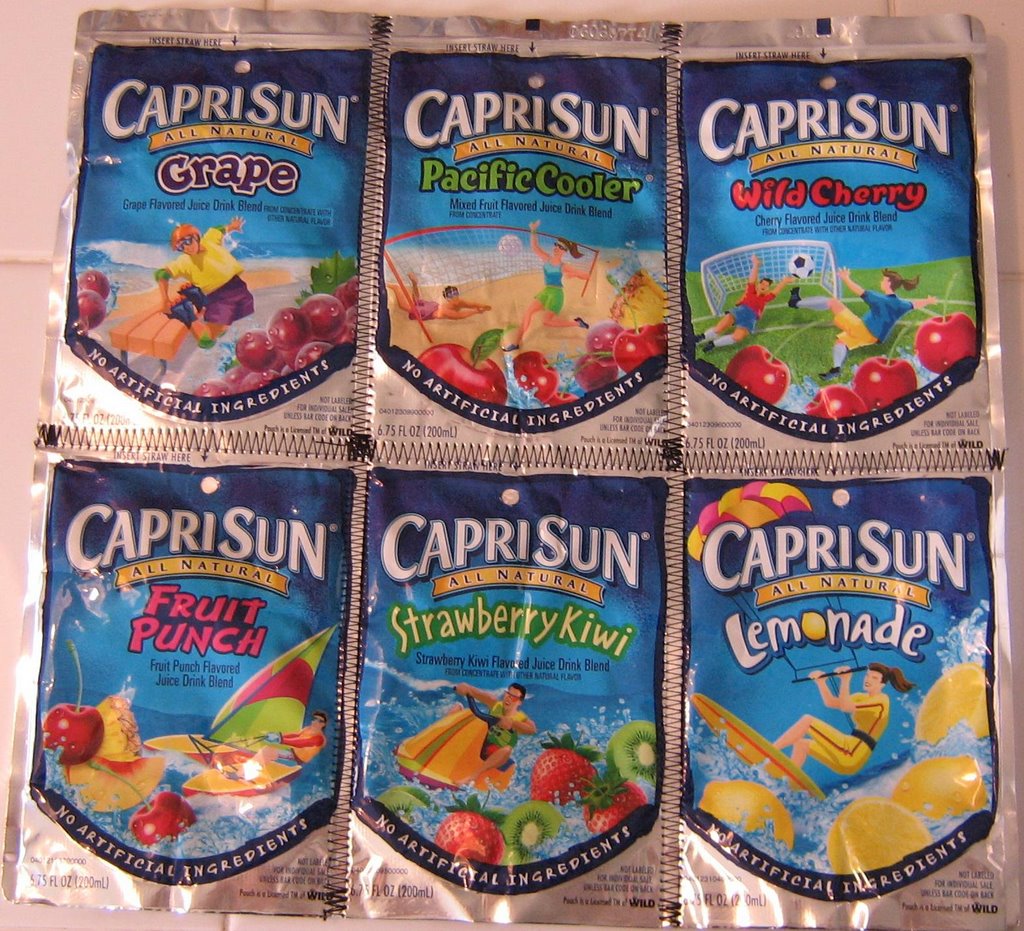
Stitch detail: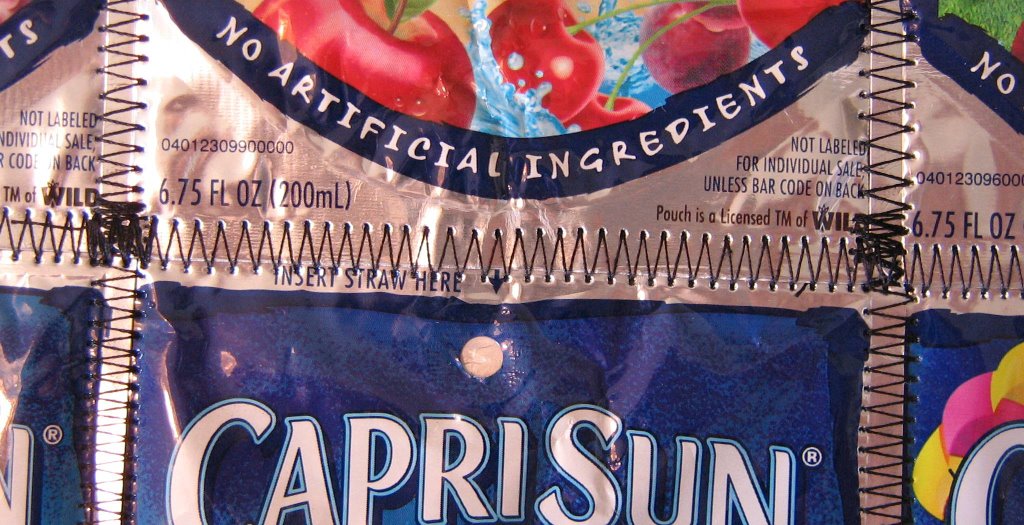
Back view: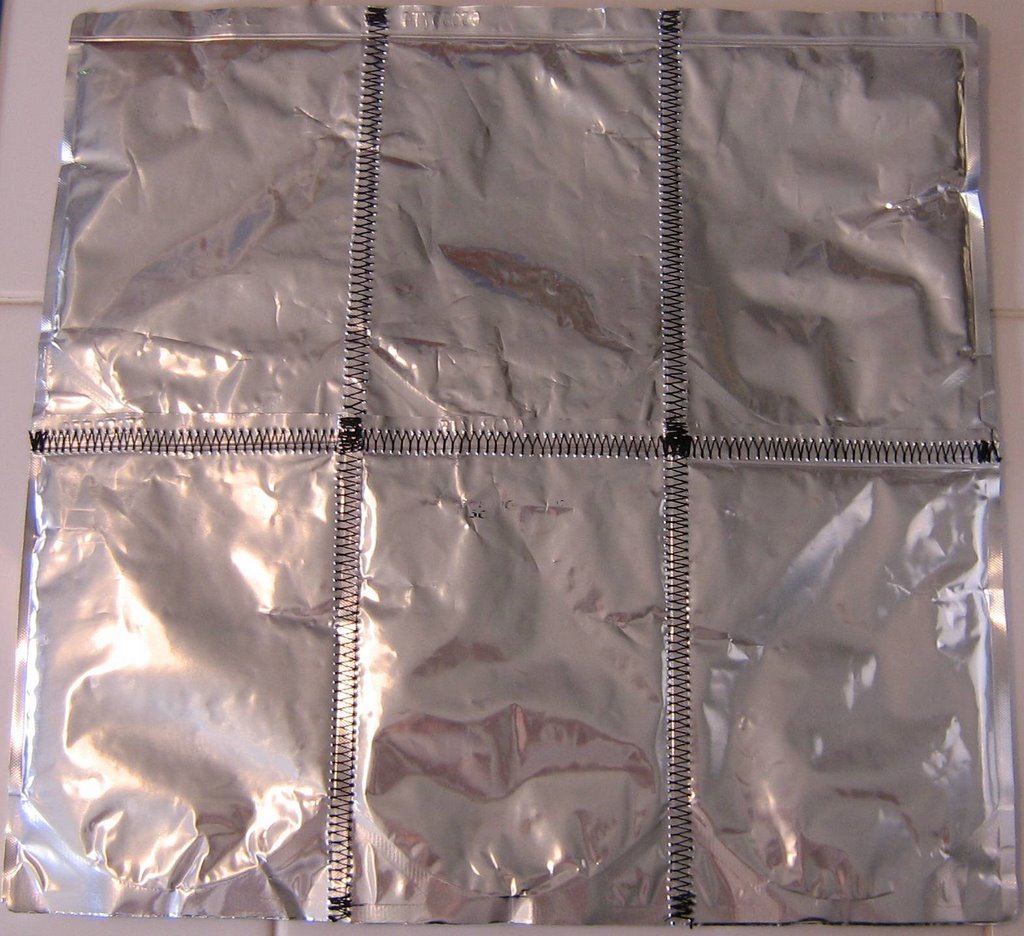
Step 10: Assemble another 2X3 panel, for the opposite side of your bag, using steps 6-9 above.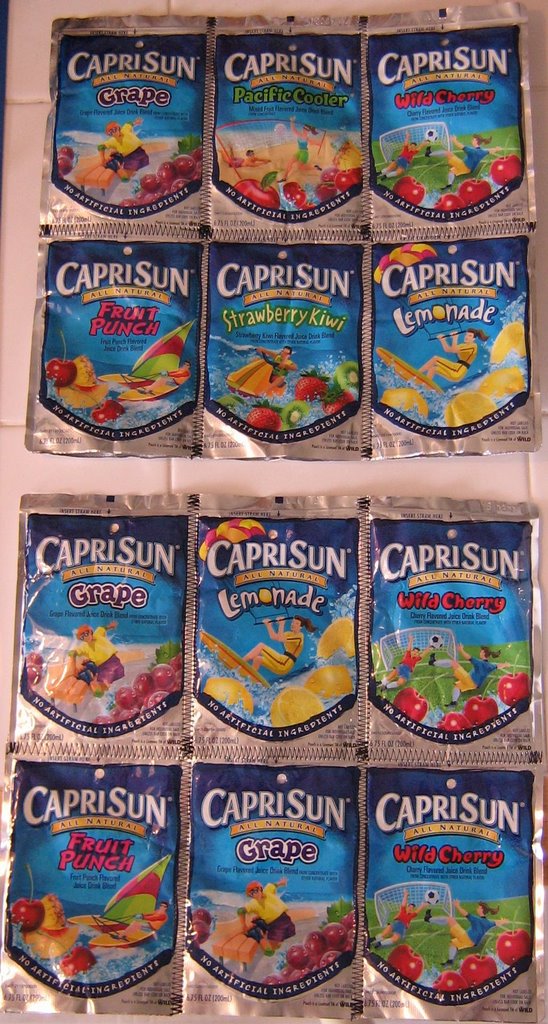
***Now would be a great time to add your purse handles, or straps. I didn't have the supplies for mine until after the body of my purse was complete, but it was quite difficult getting the whole purse to fold up, & get it through the machine. It would be much better to add them now, while these panels are flat & easier to move around. Look for instructions in the post below.***
Step 11: Sew two pouches together, one above the other, for the "ends" of your bag. I don't have a picture of how to lay these out, but in step 6, the pouches were side by side & here, they need to be one pouch with one below it. You will see this in the next few photos, but this section will already be joined with the bag sides.
Step 12: On these particular drink pouches, the "wrong" side is all silver. Attach your 2X3 panel to the pouches you joined for the end, with the wrong (silver) sides together. I still used a zig-zag stitch here. It will be much easier to attach the bottom of the bag if you don't sew off the ends here. Sew from the very top, all the way down until about 1/4th of an inch from the bottom & backstitch there. (I guess I skipped taking a photo of this step, as well!)
Step 13: Add your other 2X3 panel for the opposite side. Here is a view of the three panels all together.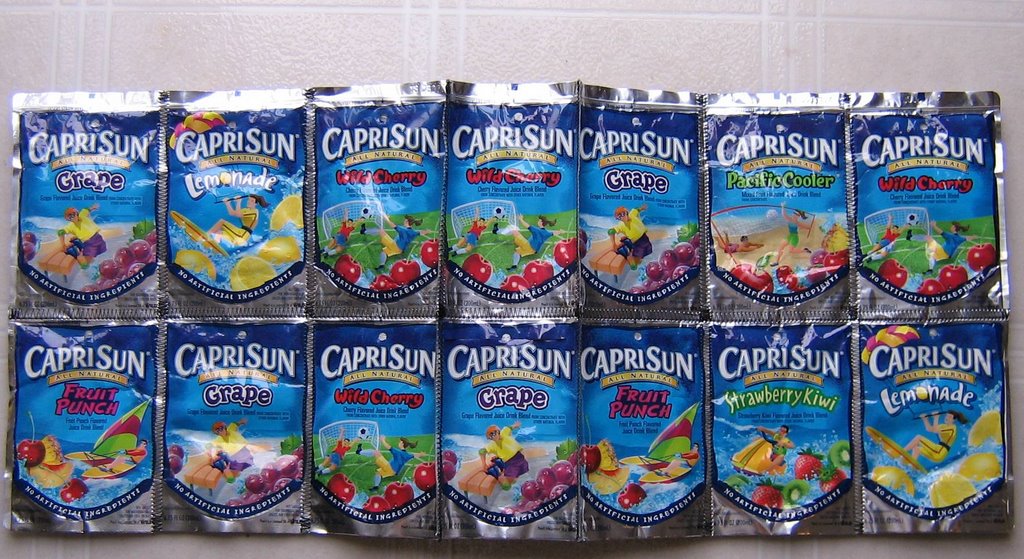
Notice the two seams in the center are different. These are the ones that have been sewn wrong sides together. 
More to come...and I promise that it will start looking like a purse soon!
Monday, May 29, 2006
Capri Sun Fun
Posted by Scrapaholic at 6:27 PM
Subscribe to:
Posts (Atom)

